‘Tis the season for holiday baking and if you’re looking for a recipe to trump all holiday recipes this is the one. It’s light and fluffy layers of gingerbread and spice mixed with the soft decadent flavors of cream cheese and mascarpone will tantalize your taste buds to the fullest.
I will say that I made this cake the night before this one and got the finished product and was moving the cake from my island to the counter and it fell in the floor into a bunch of pieces. I tried to salvage it but there was not saving it. Haha! normally I would just let it be but I wanted to share this recipe so much with you guys that I had to make it again the next day and the finished product is what you see here.
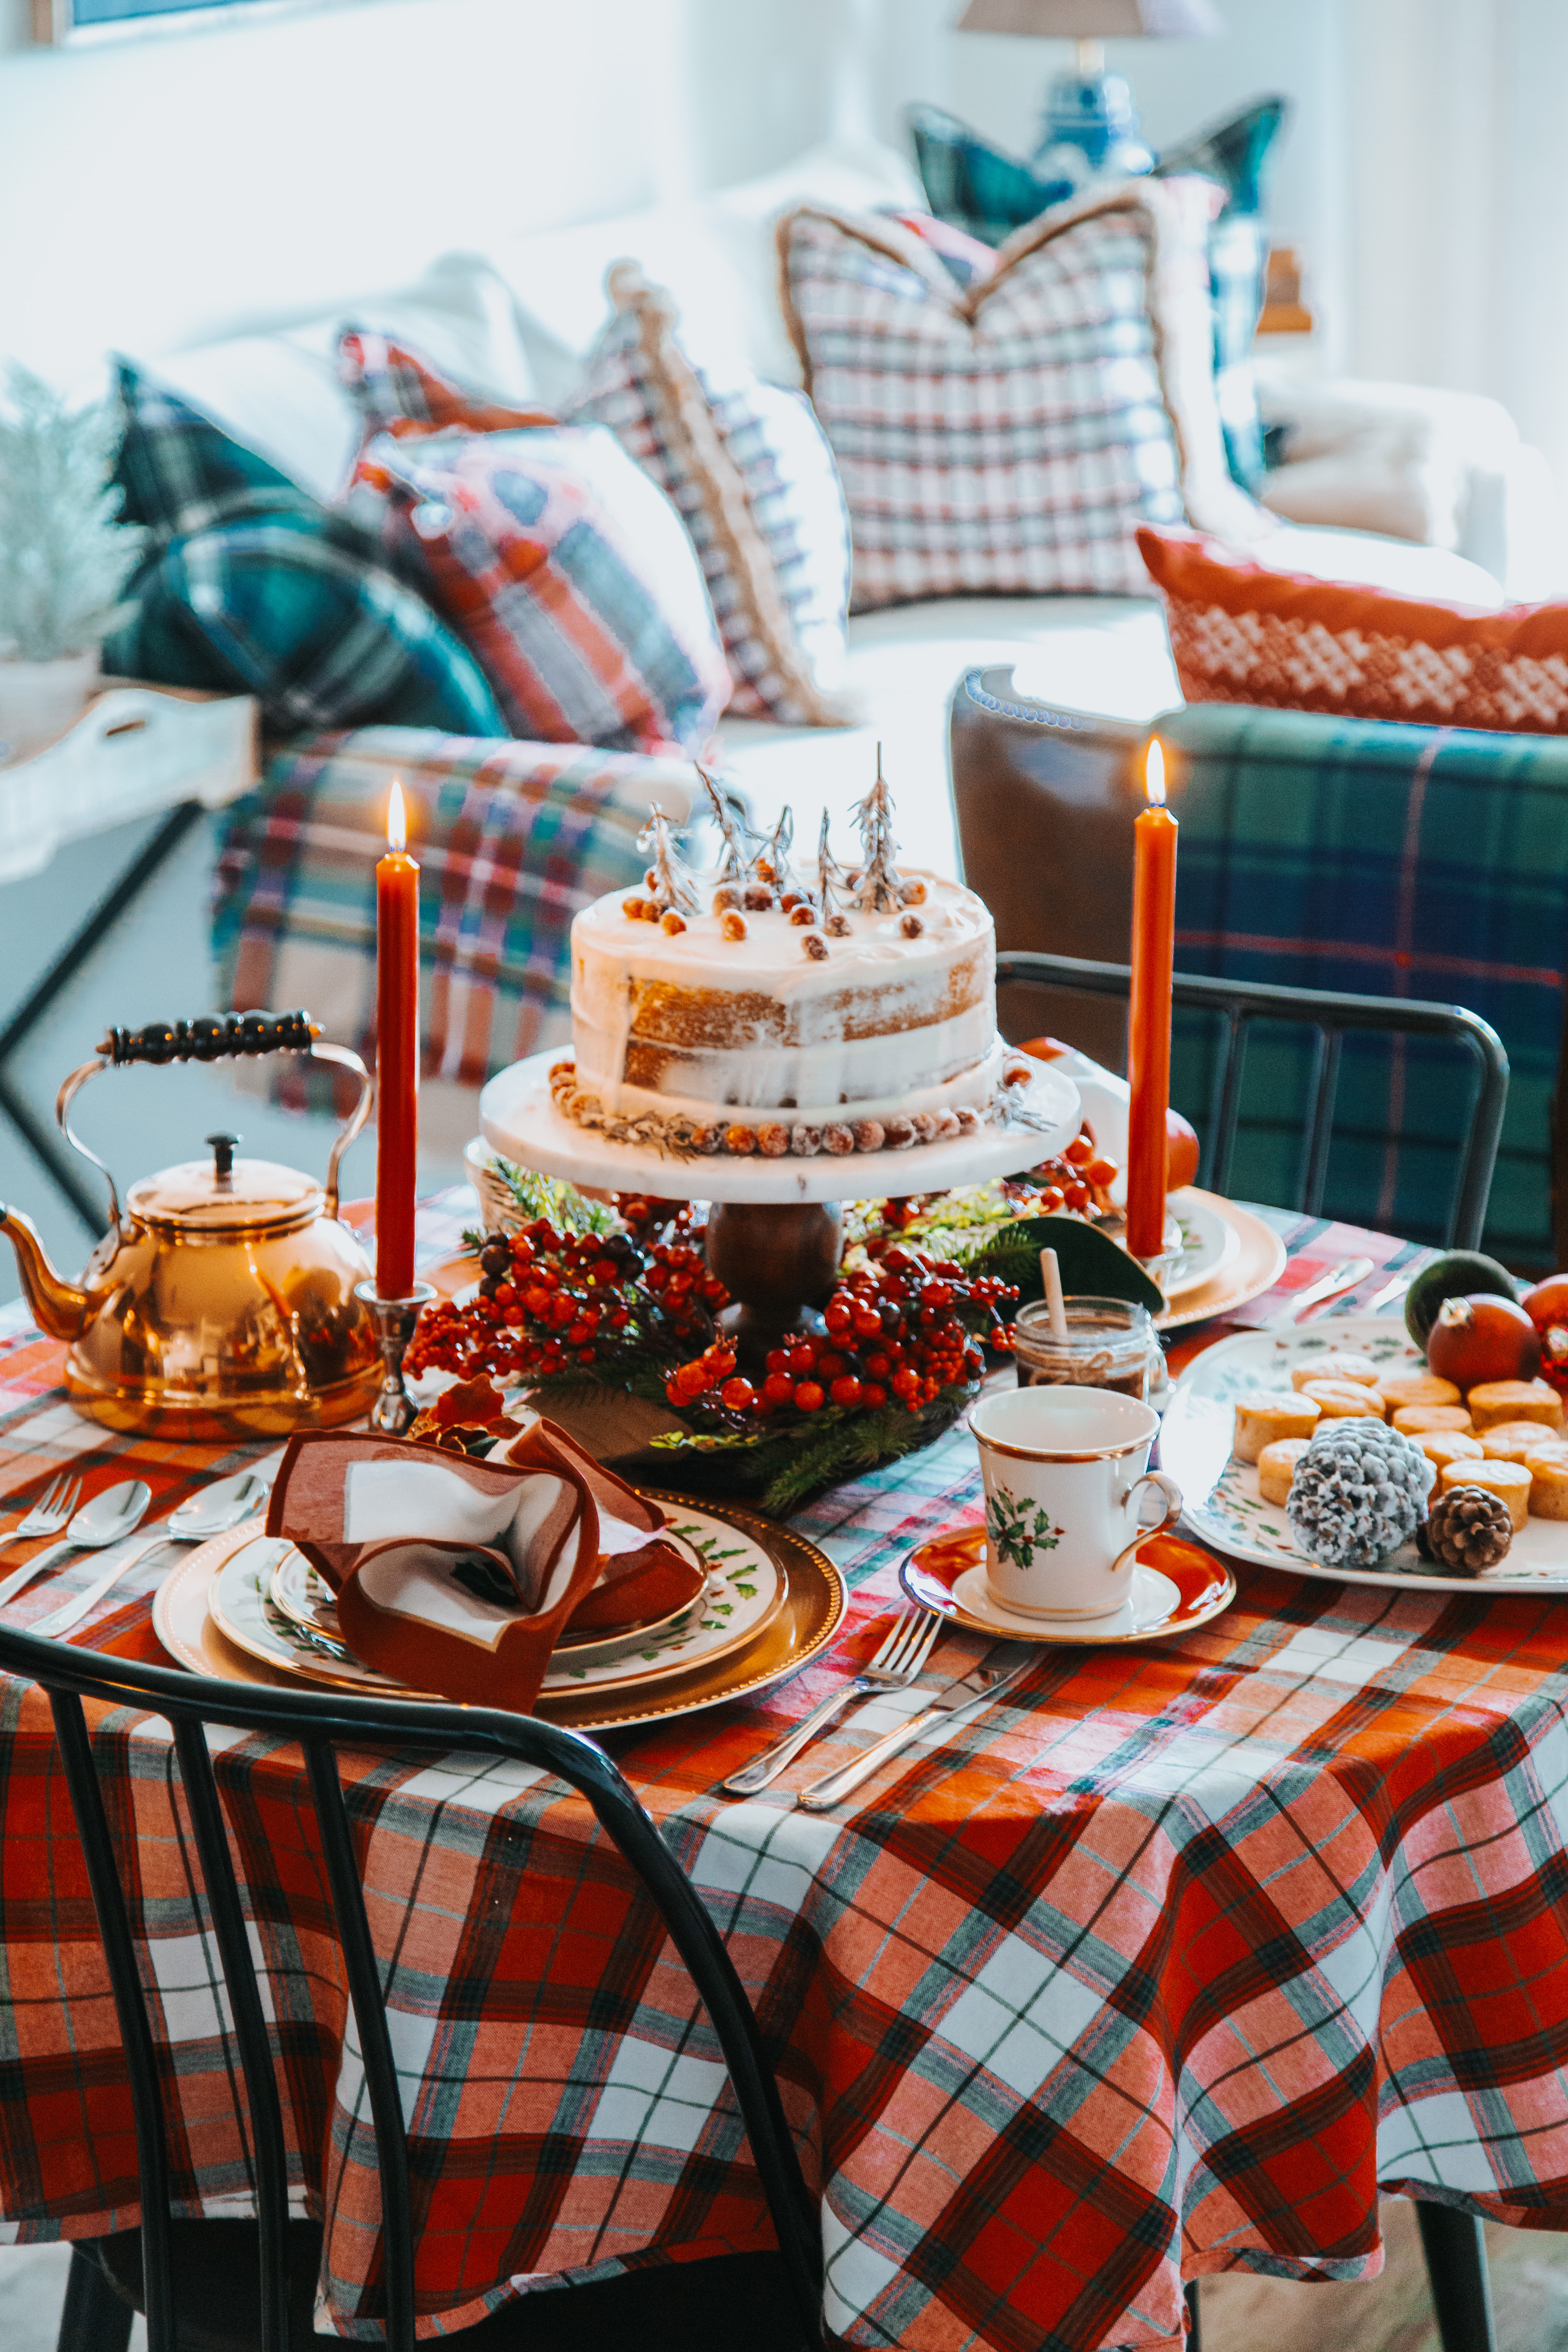
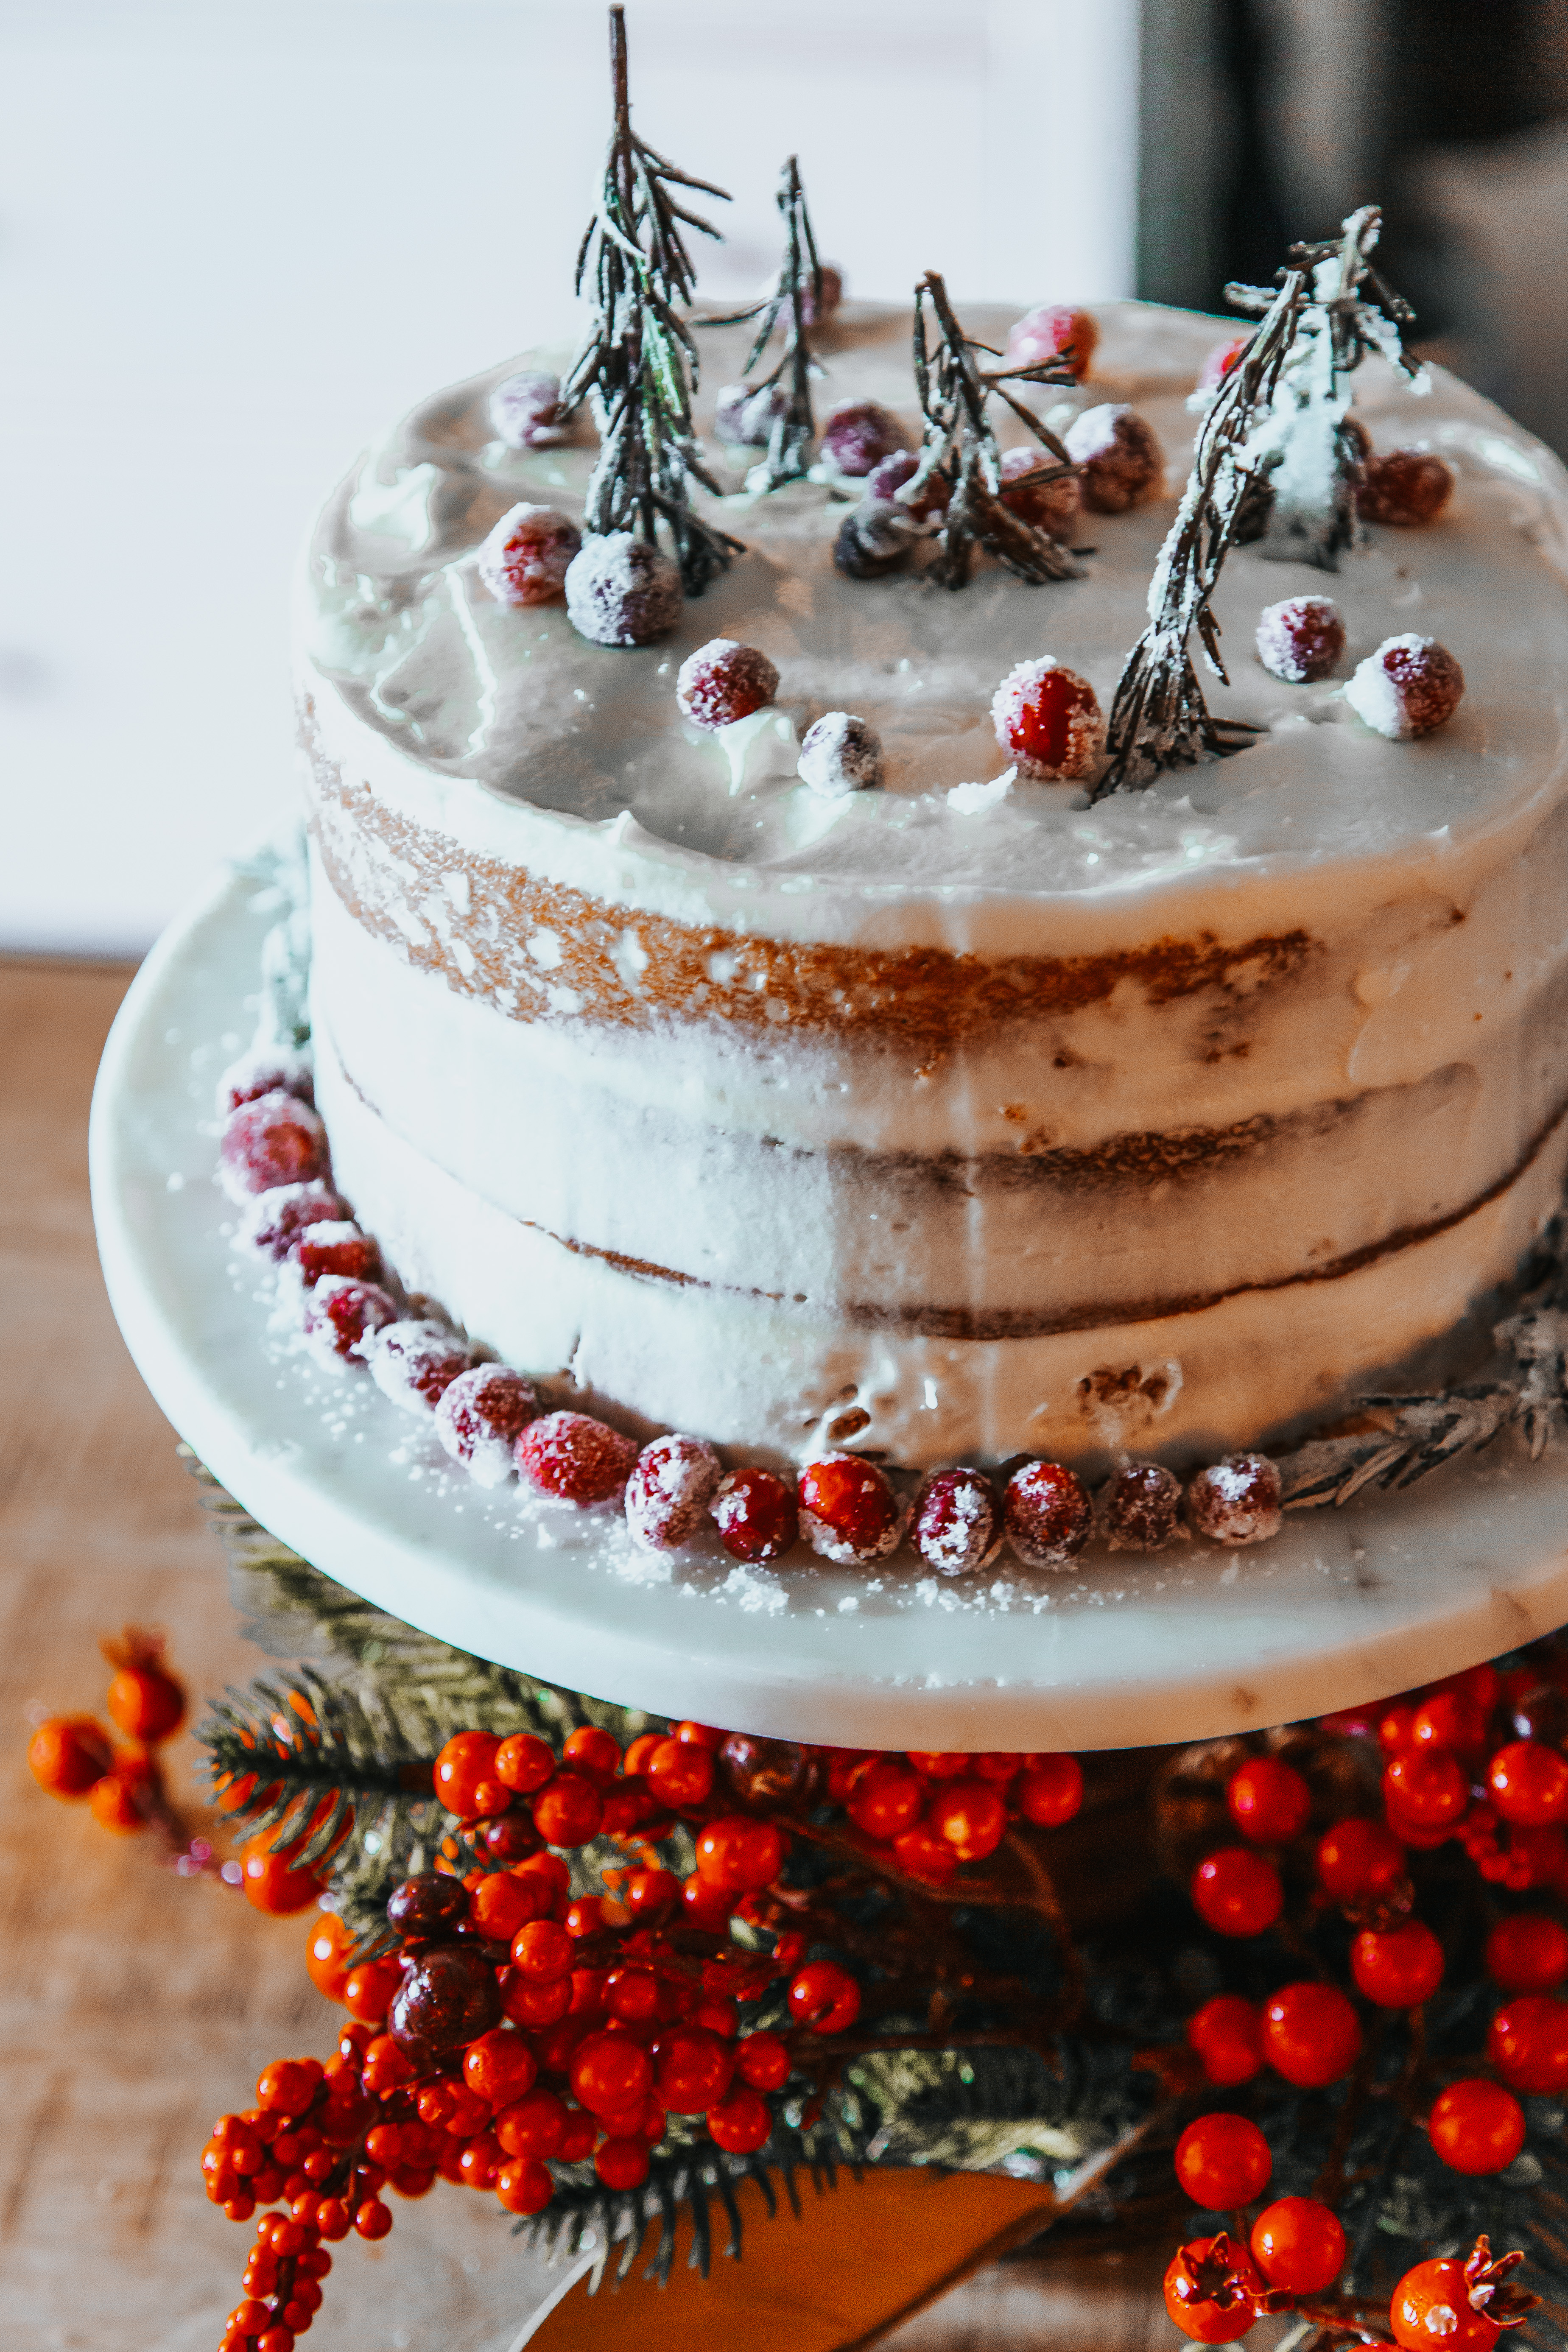
Top with sugar glazed cranberries and rosemary sprigs to make it look like an evergreen forest in the dead of Winter and your guest will be Ho Ho Ho’ing! into next year.
I hope you enjoy this recipe as much as I do and it will definitely be a staple for years to come.
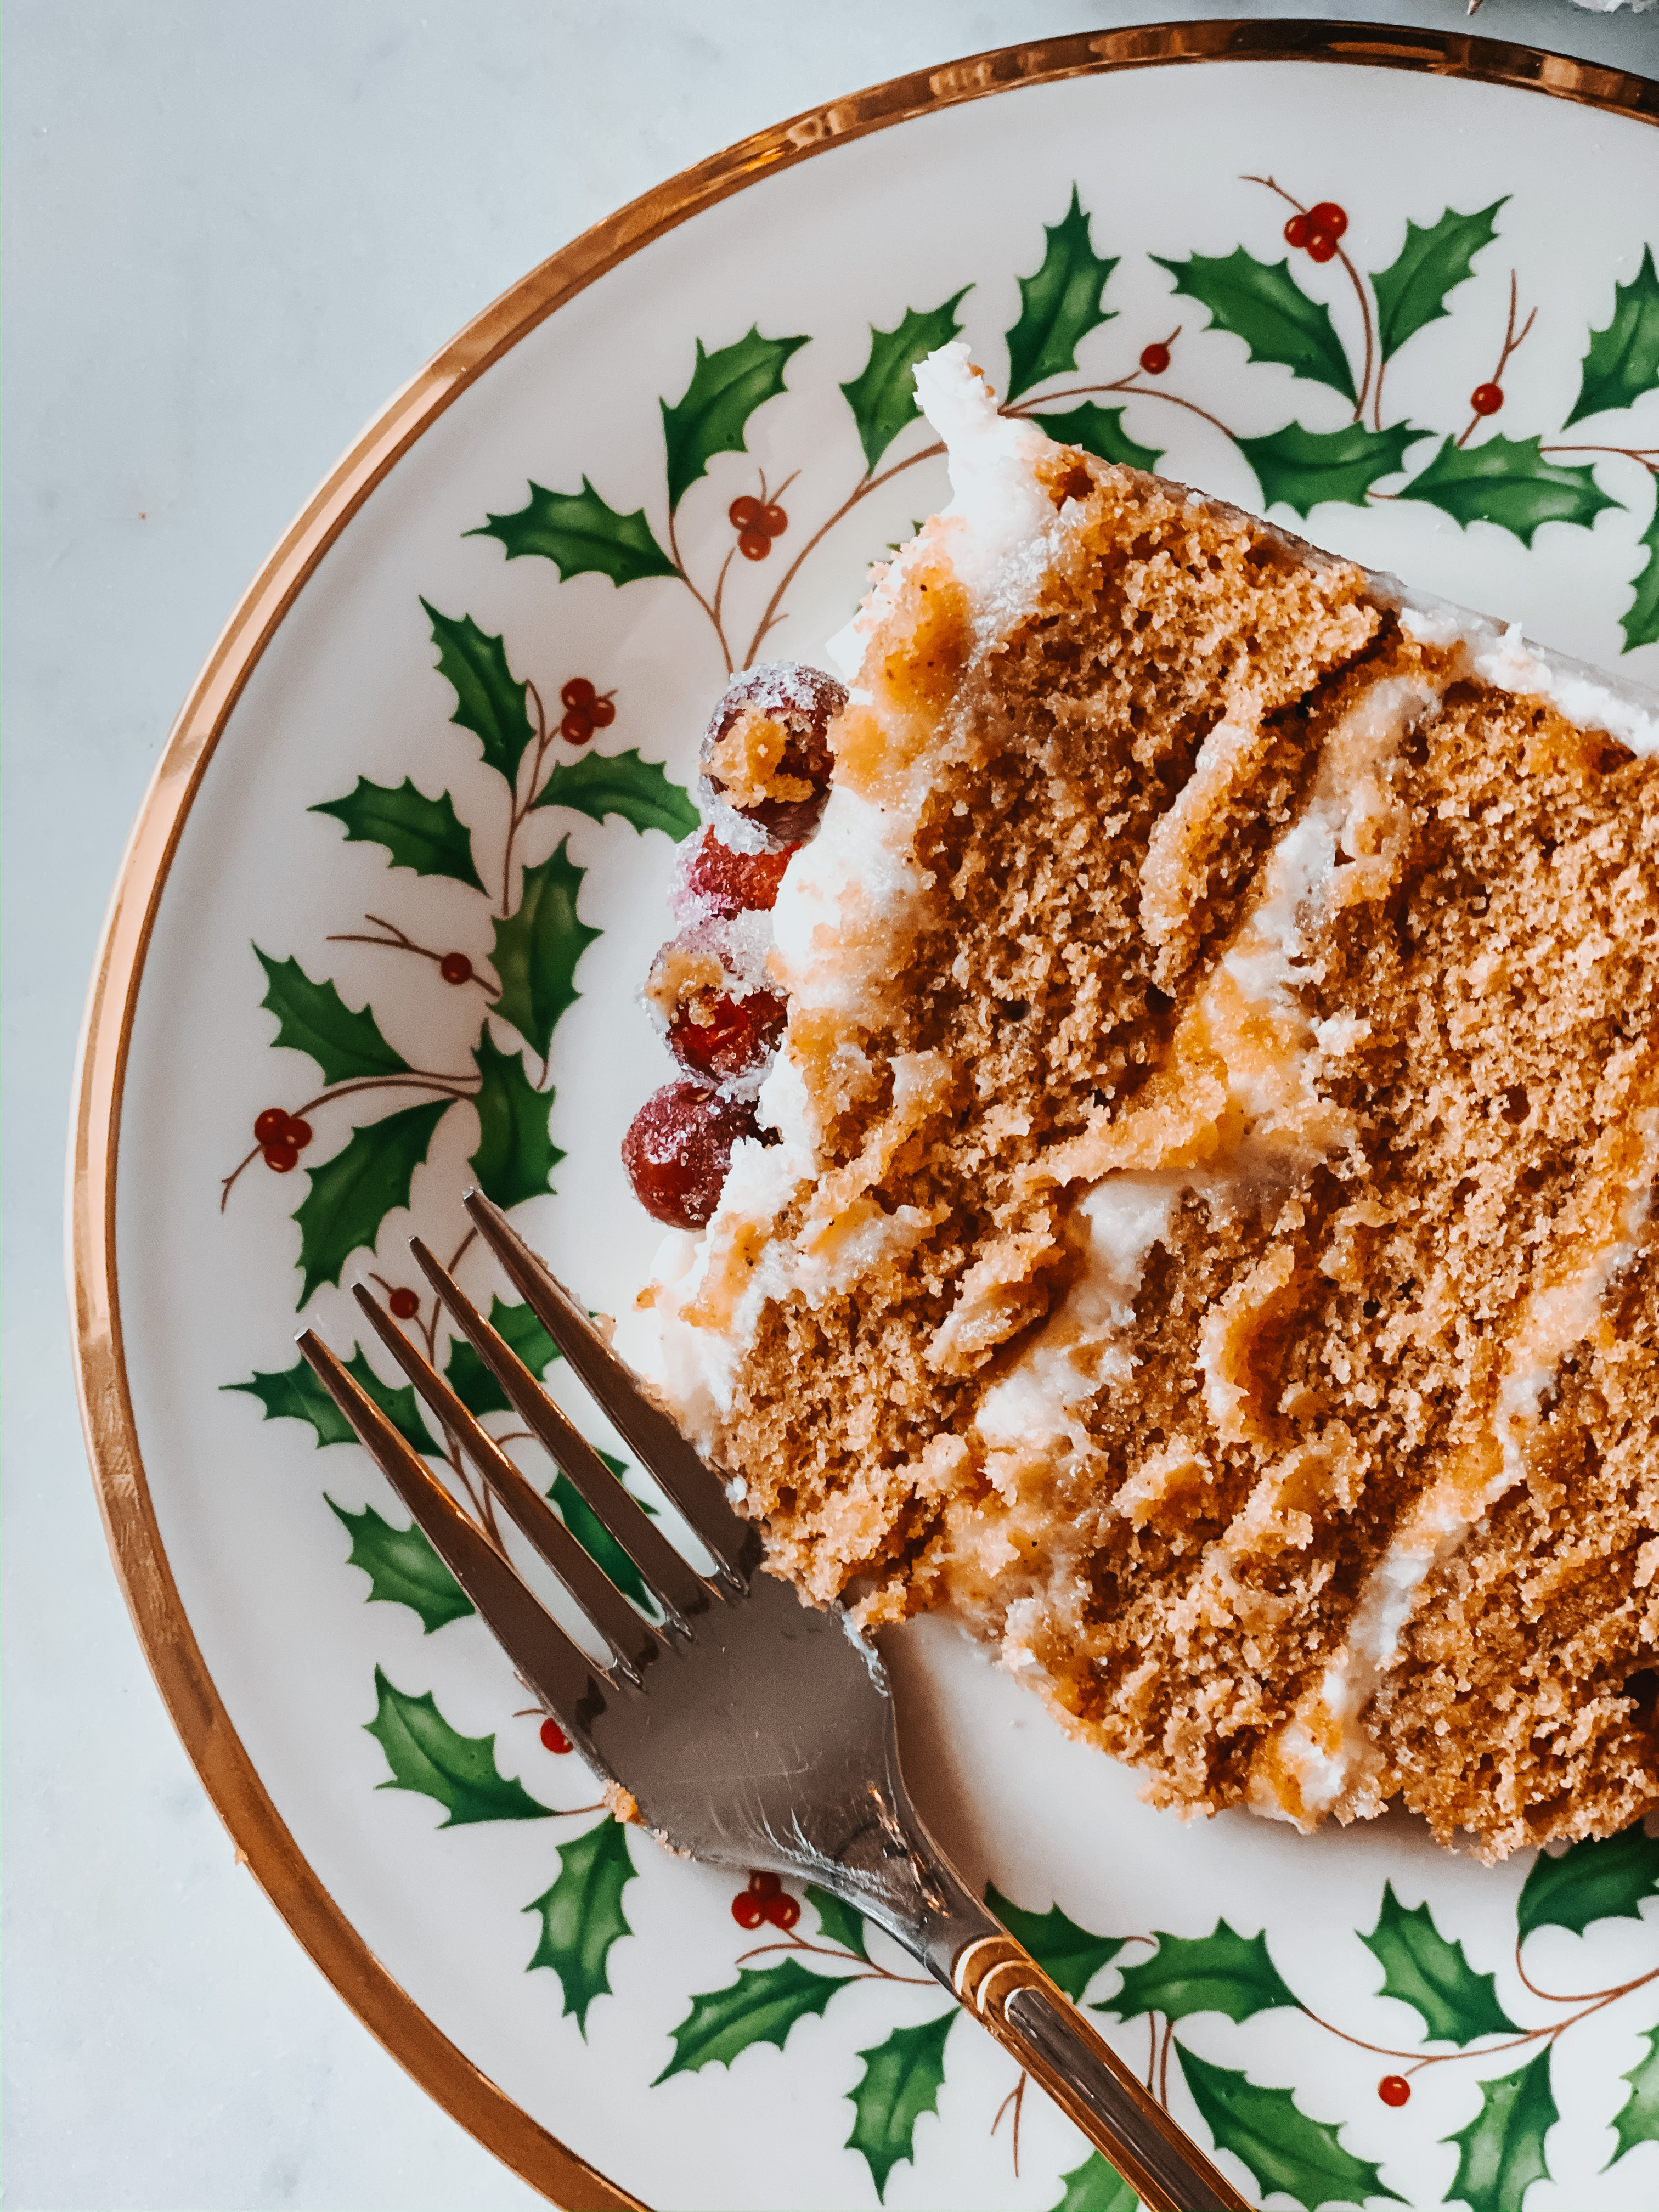
Three layers of gingerbready goodness.
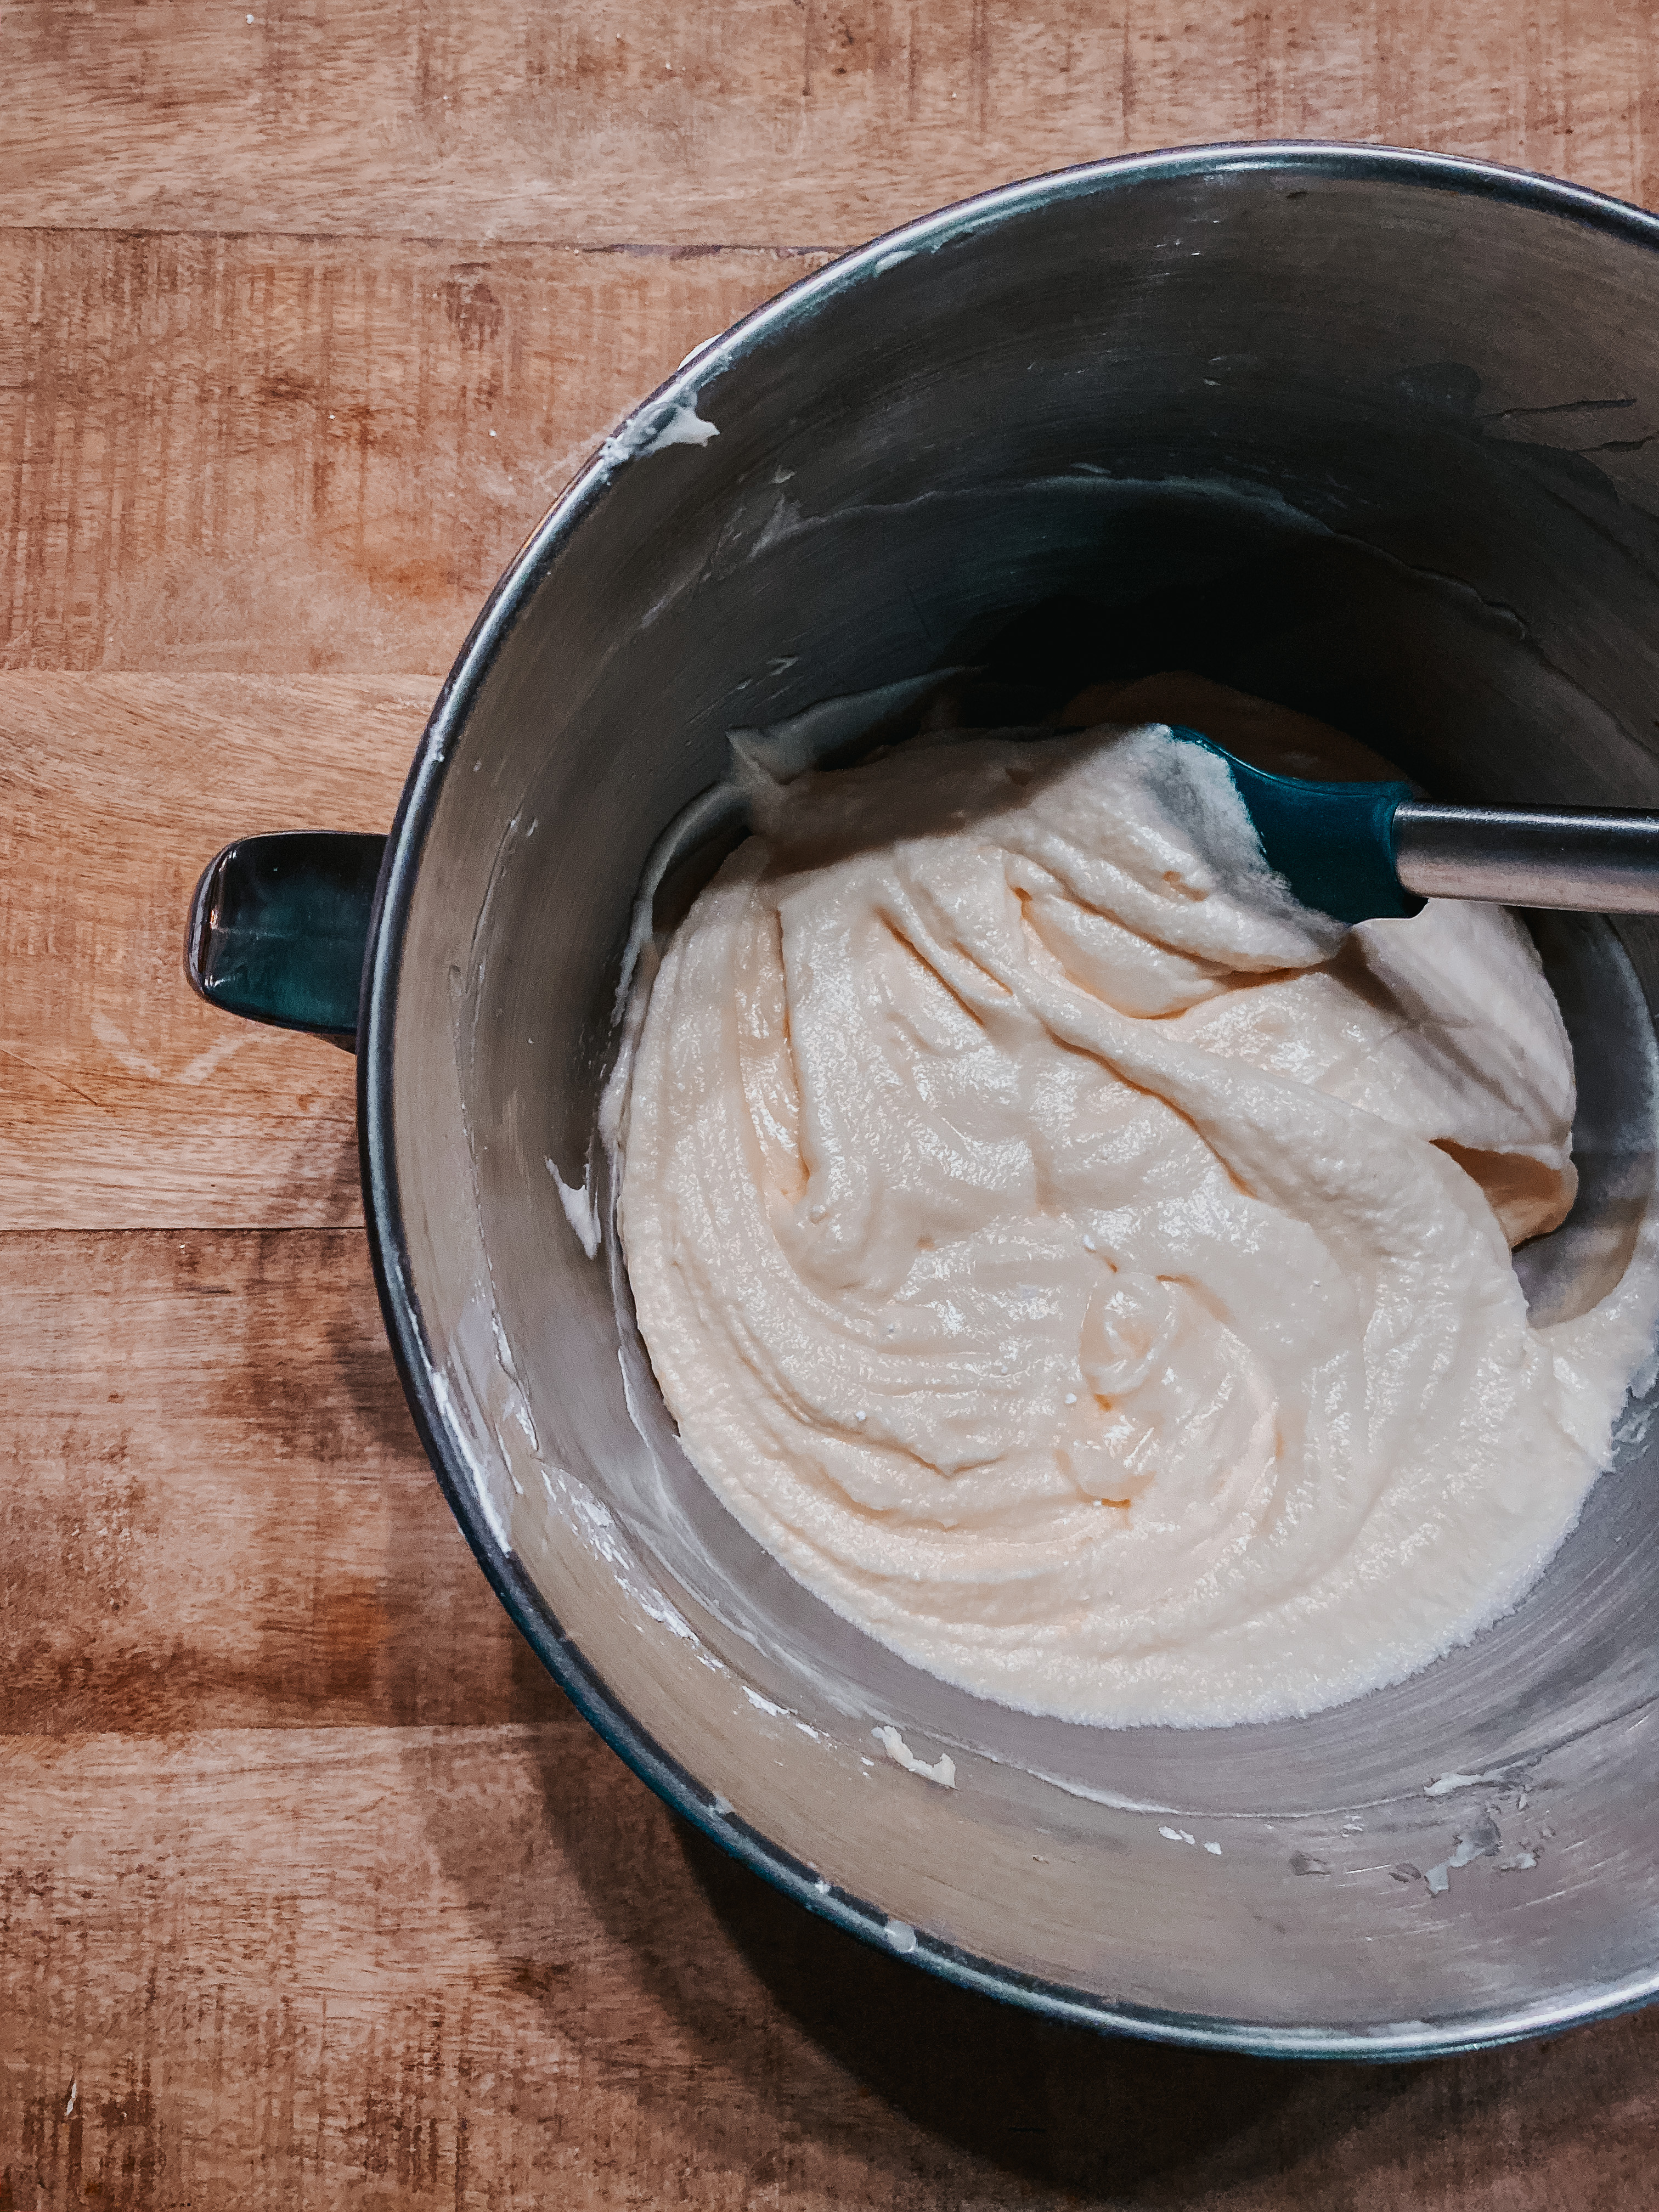
If you’ve never had cream cheese frosting with mascarpone you’re missing out. It makes for such an amazing addition to your frosting.
Ok! now to the good stuff. the recipe. Be sure and “PIN” this on Pinterest and share with your friends. Leave me a comment below on how you like it. Pictures would be great too.
Prep Time: 1 hour
Cook Time: 18-25 minutes
Cake Cooling: 1 hour 18 minutes
Total Time: 1 hour 18-25 minute
Ingredients:
For the Cake:
* 2 cups all-purpose flour
* 1 cup white whole wheat flour
* 3/4 tsp salt
* 3 tsp baking powder
* 2 tsp cinnamon
* 1/2 tsp cloves
* 1 and 1/2 tsp ginger
* 1/4 tsp nutmeg
* 2 sticks salted butter, softened
* 2/3 cup brown sugar, packed
* 1 cup granulated sugar
* 4 eggs at room temp
* 2 tsp vanilla
* 1 cup molasses
* 1 cup buttermilk
For the Frosting:
* 20 tbsp salted butter, softened (2 sticks + 4 tbsp)
* 6 ounces cream cheese, softened
* 10 ounces mascarpone cheese (no need to soften)
* 6 cups powdered sugar, sifted
* 2 1/2 tbsp milk
* 2 tsp vanilla
* 1/8 tsp salt
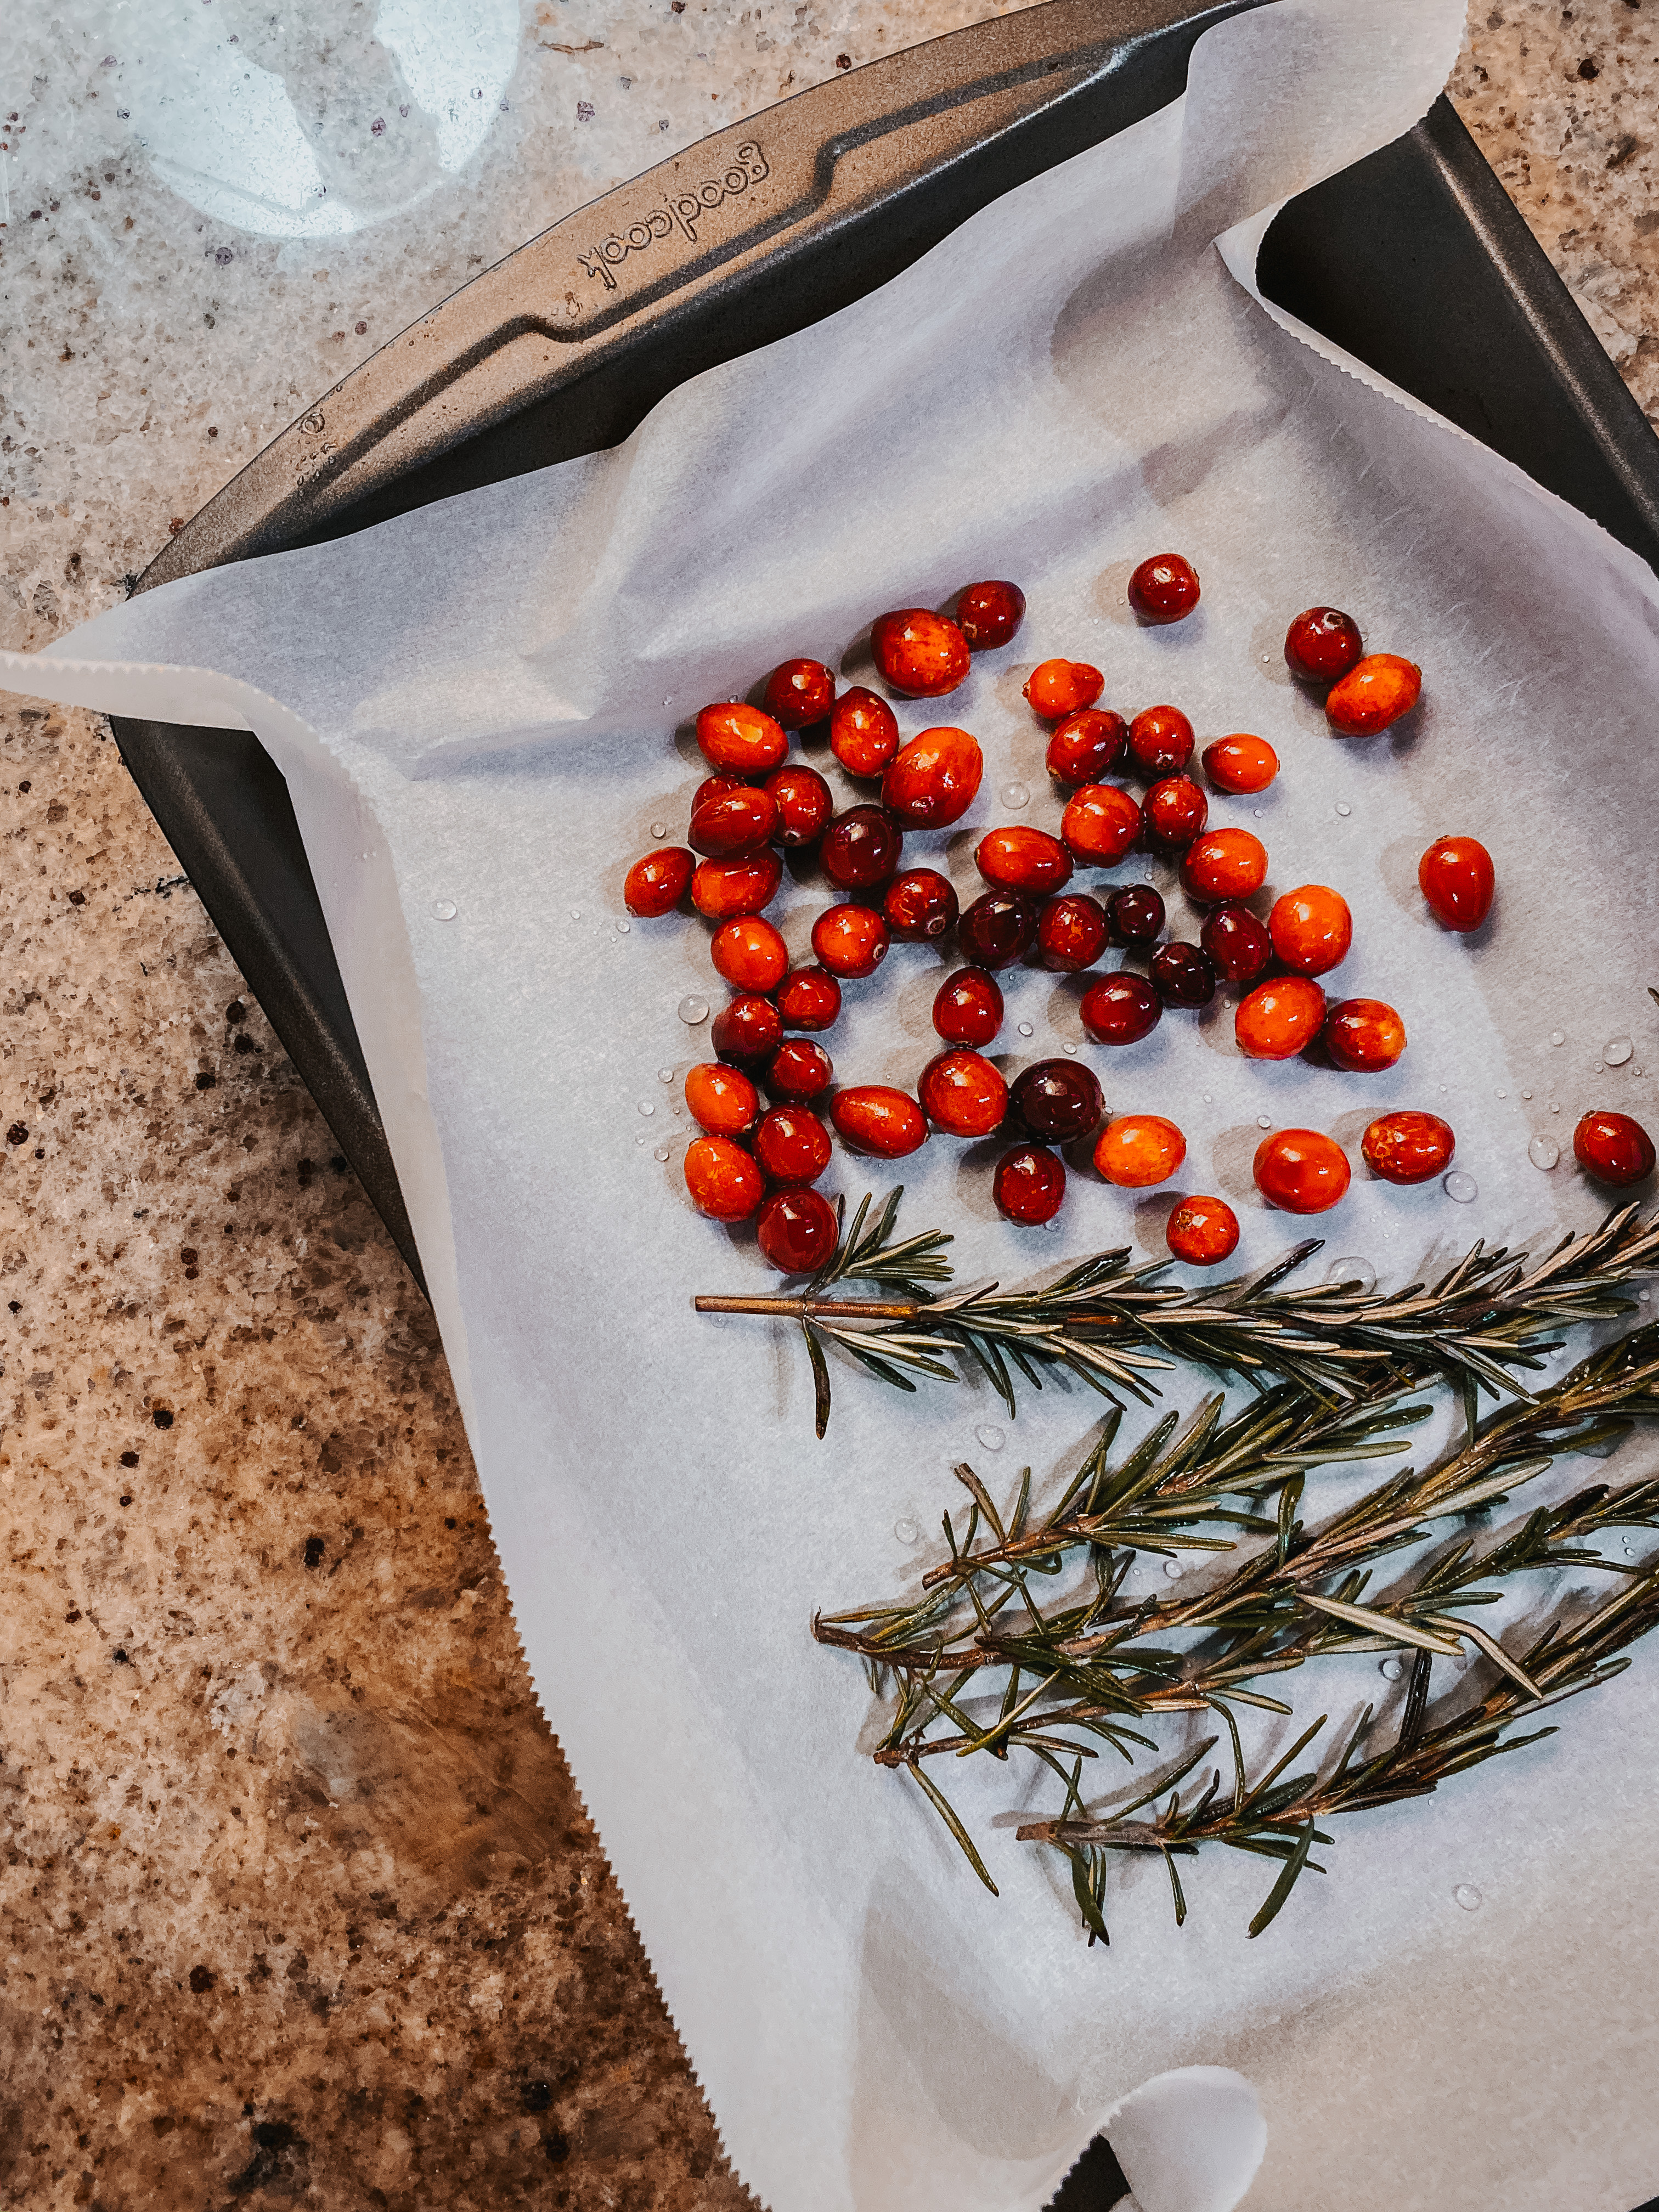
For the Sugared Cranberries + Rosemary Trees
* 1/2 cup water
* 1/2 cup granulated sugar
* 1 cup granulated sugar, for rolling
* 7 sprigs fresh rosemary
* 1/2 cup fresh cranberries
Instructions:
1) Making the sugared cranberries + rosemary sprigs:
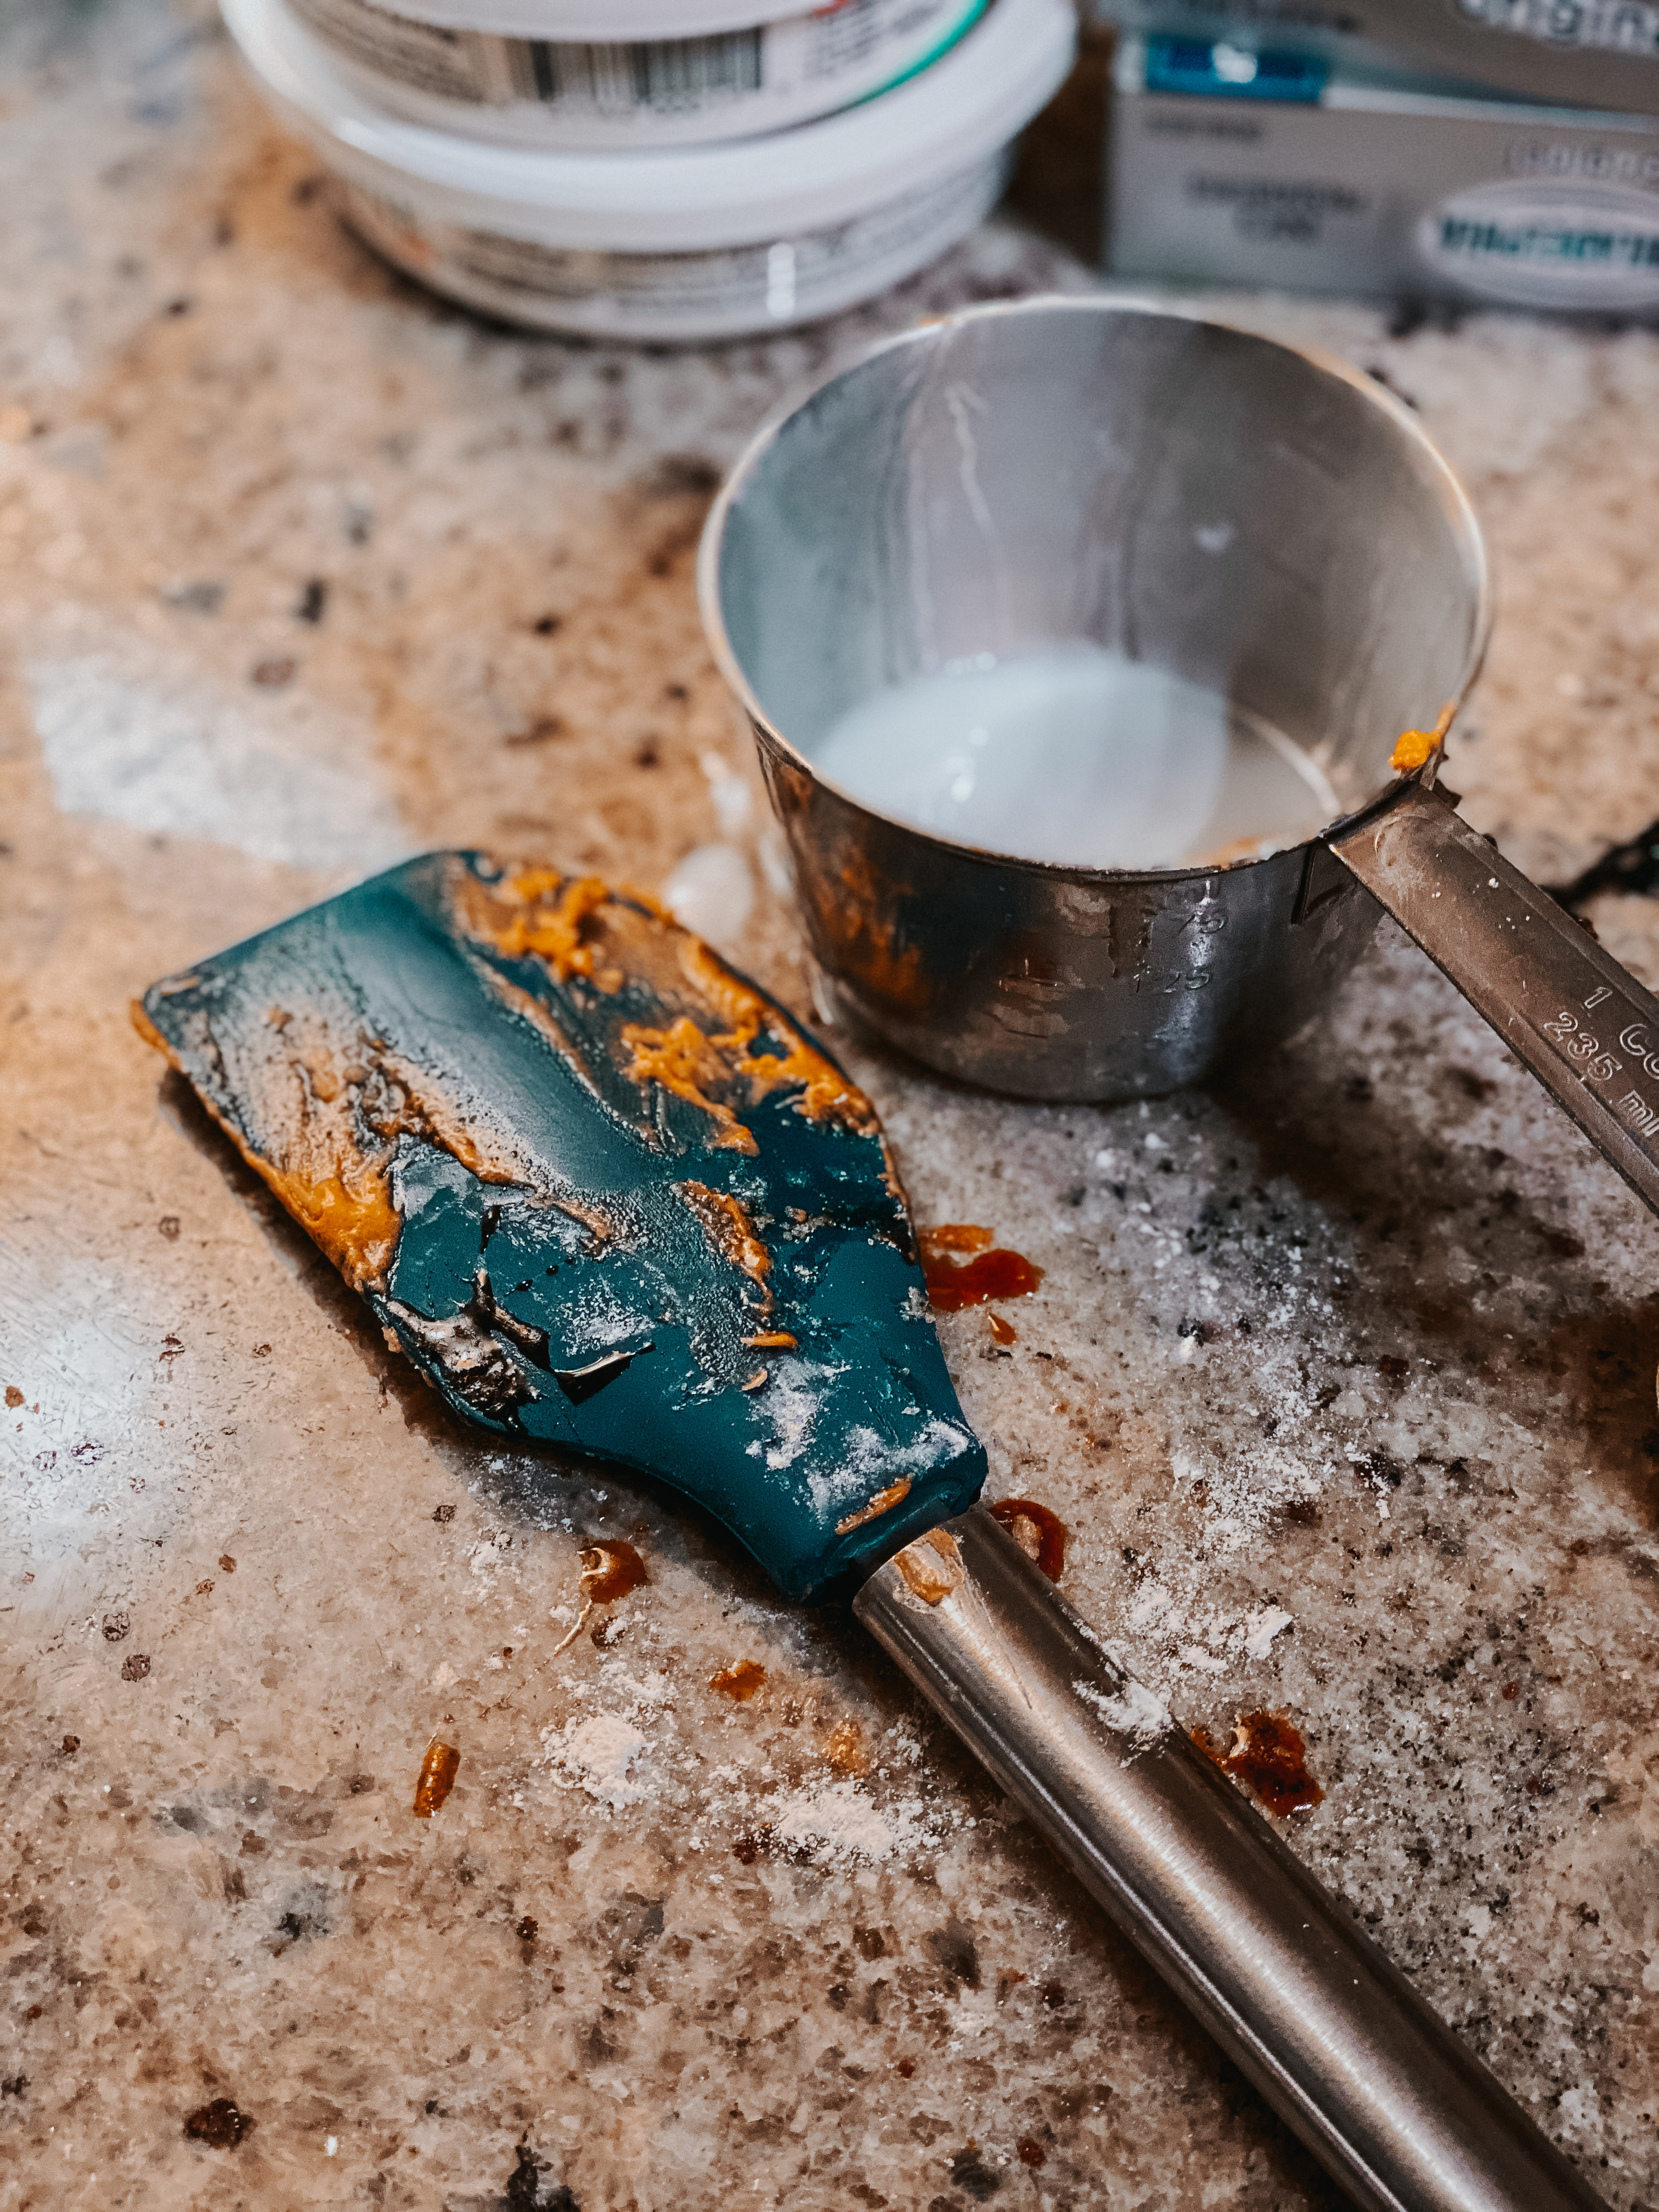
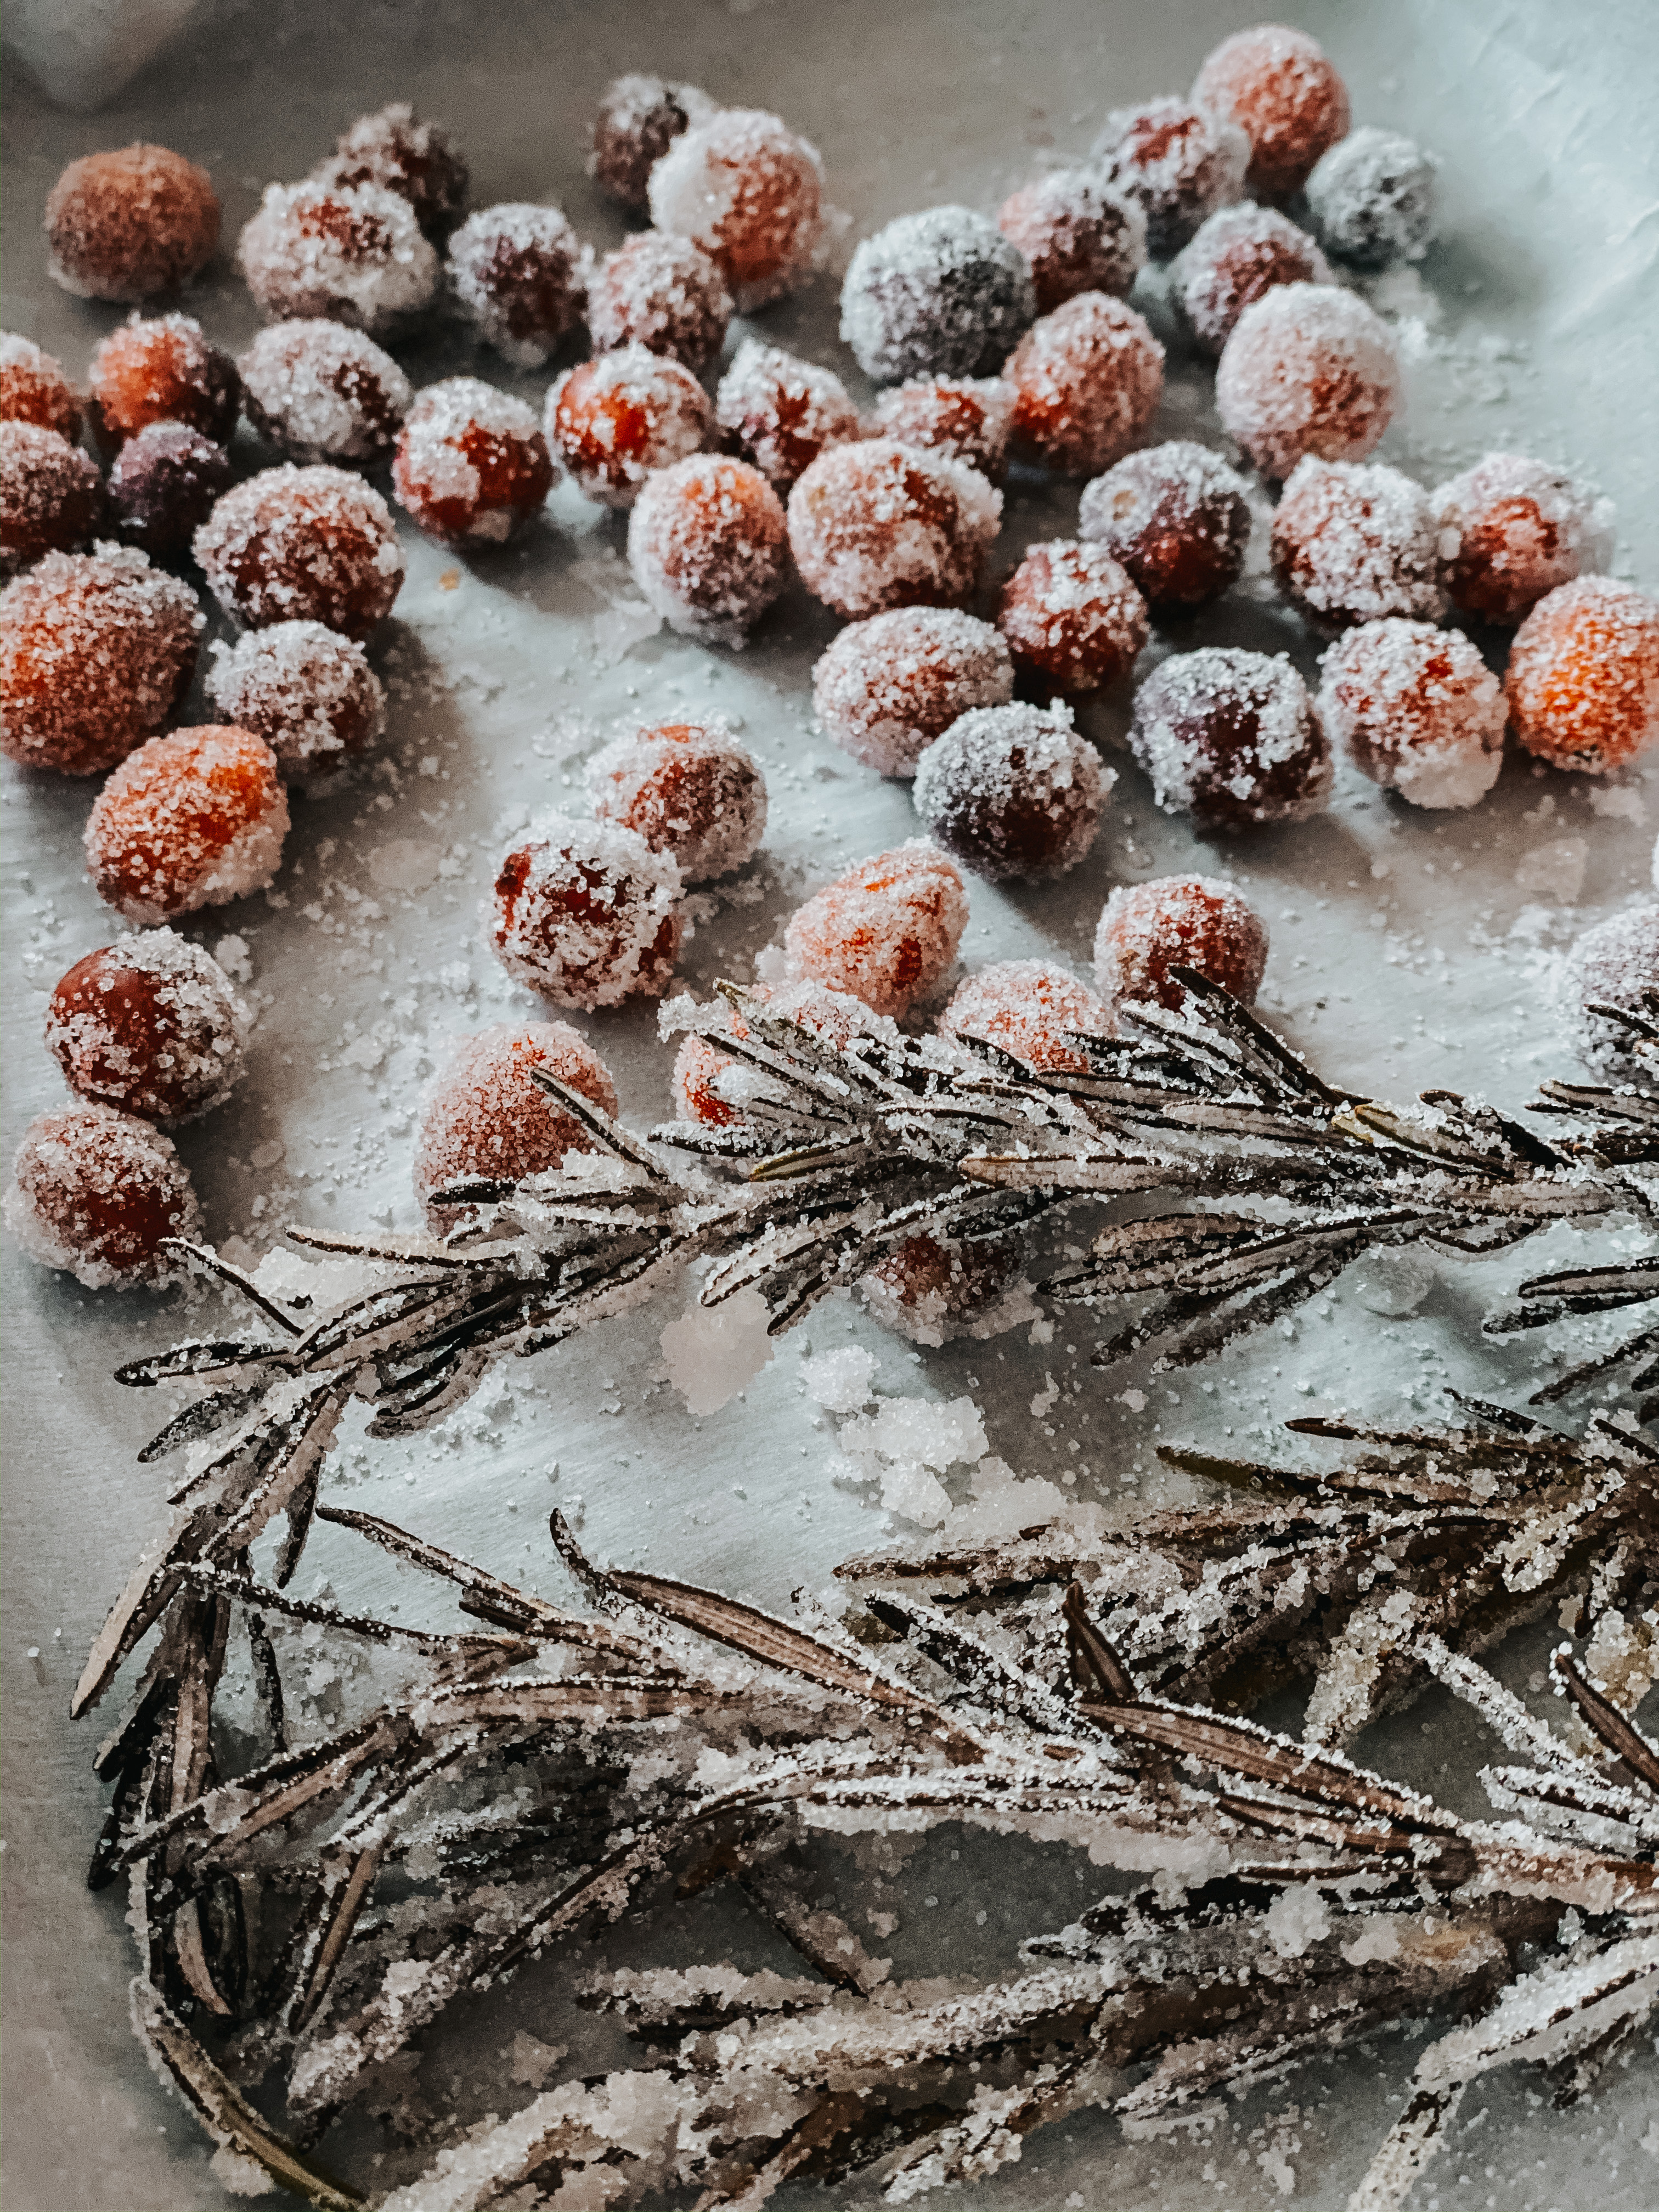
at first I wasn’t sure what I was doing as I’d never candies these before but learned it was really easy to do. Mix water and sugar in a medium pot on stove. Bring to a boil, then reduce heat to simmer, whisking until sugar is dissolved. Remove entirely from heat and dip rosemary. Set aside on parchment lined baking sheet to dry for 15 min. While that is drying add in the cranberries. Cover with a kitchen towel for 10 minutes. Remove cranberries onto parchment paper to dry for 15 minutes. After drying roll rosemary and then cranberries in granulated sugar and place back on parchment paper or you can store for later use if you want to make this element the day before.
2) Preparing the Cake Layers:
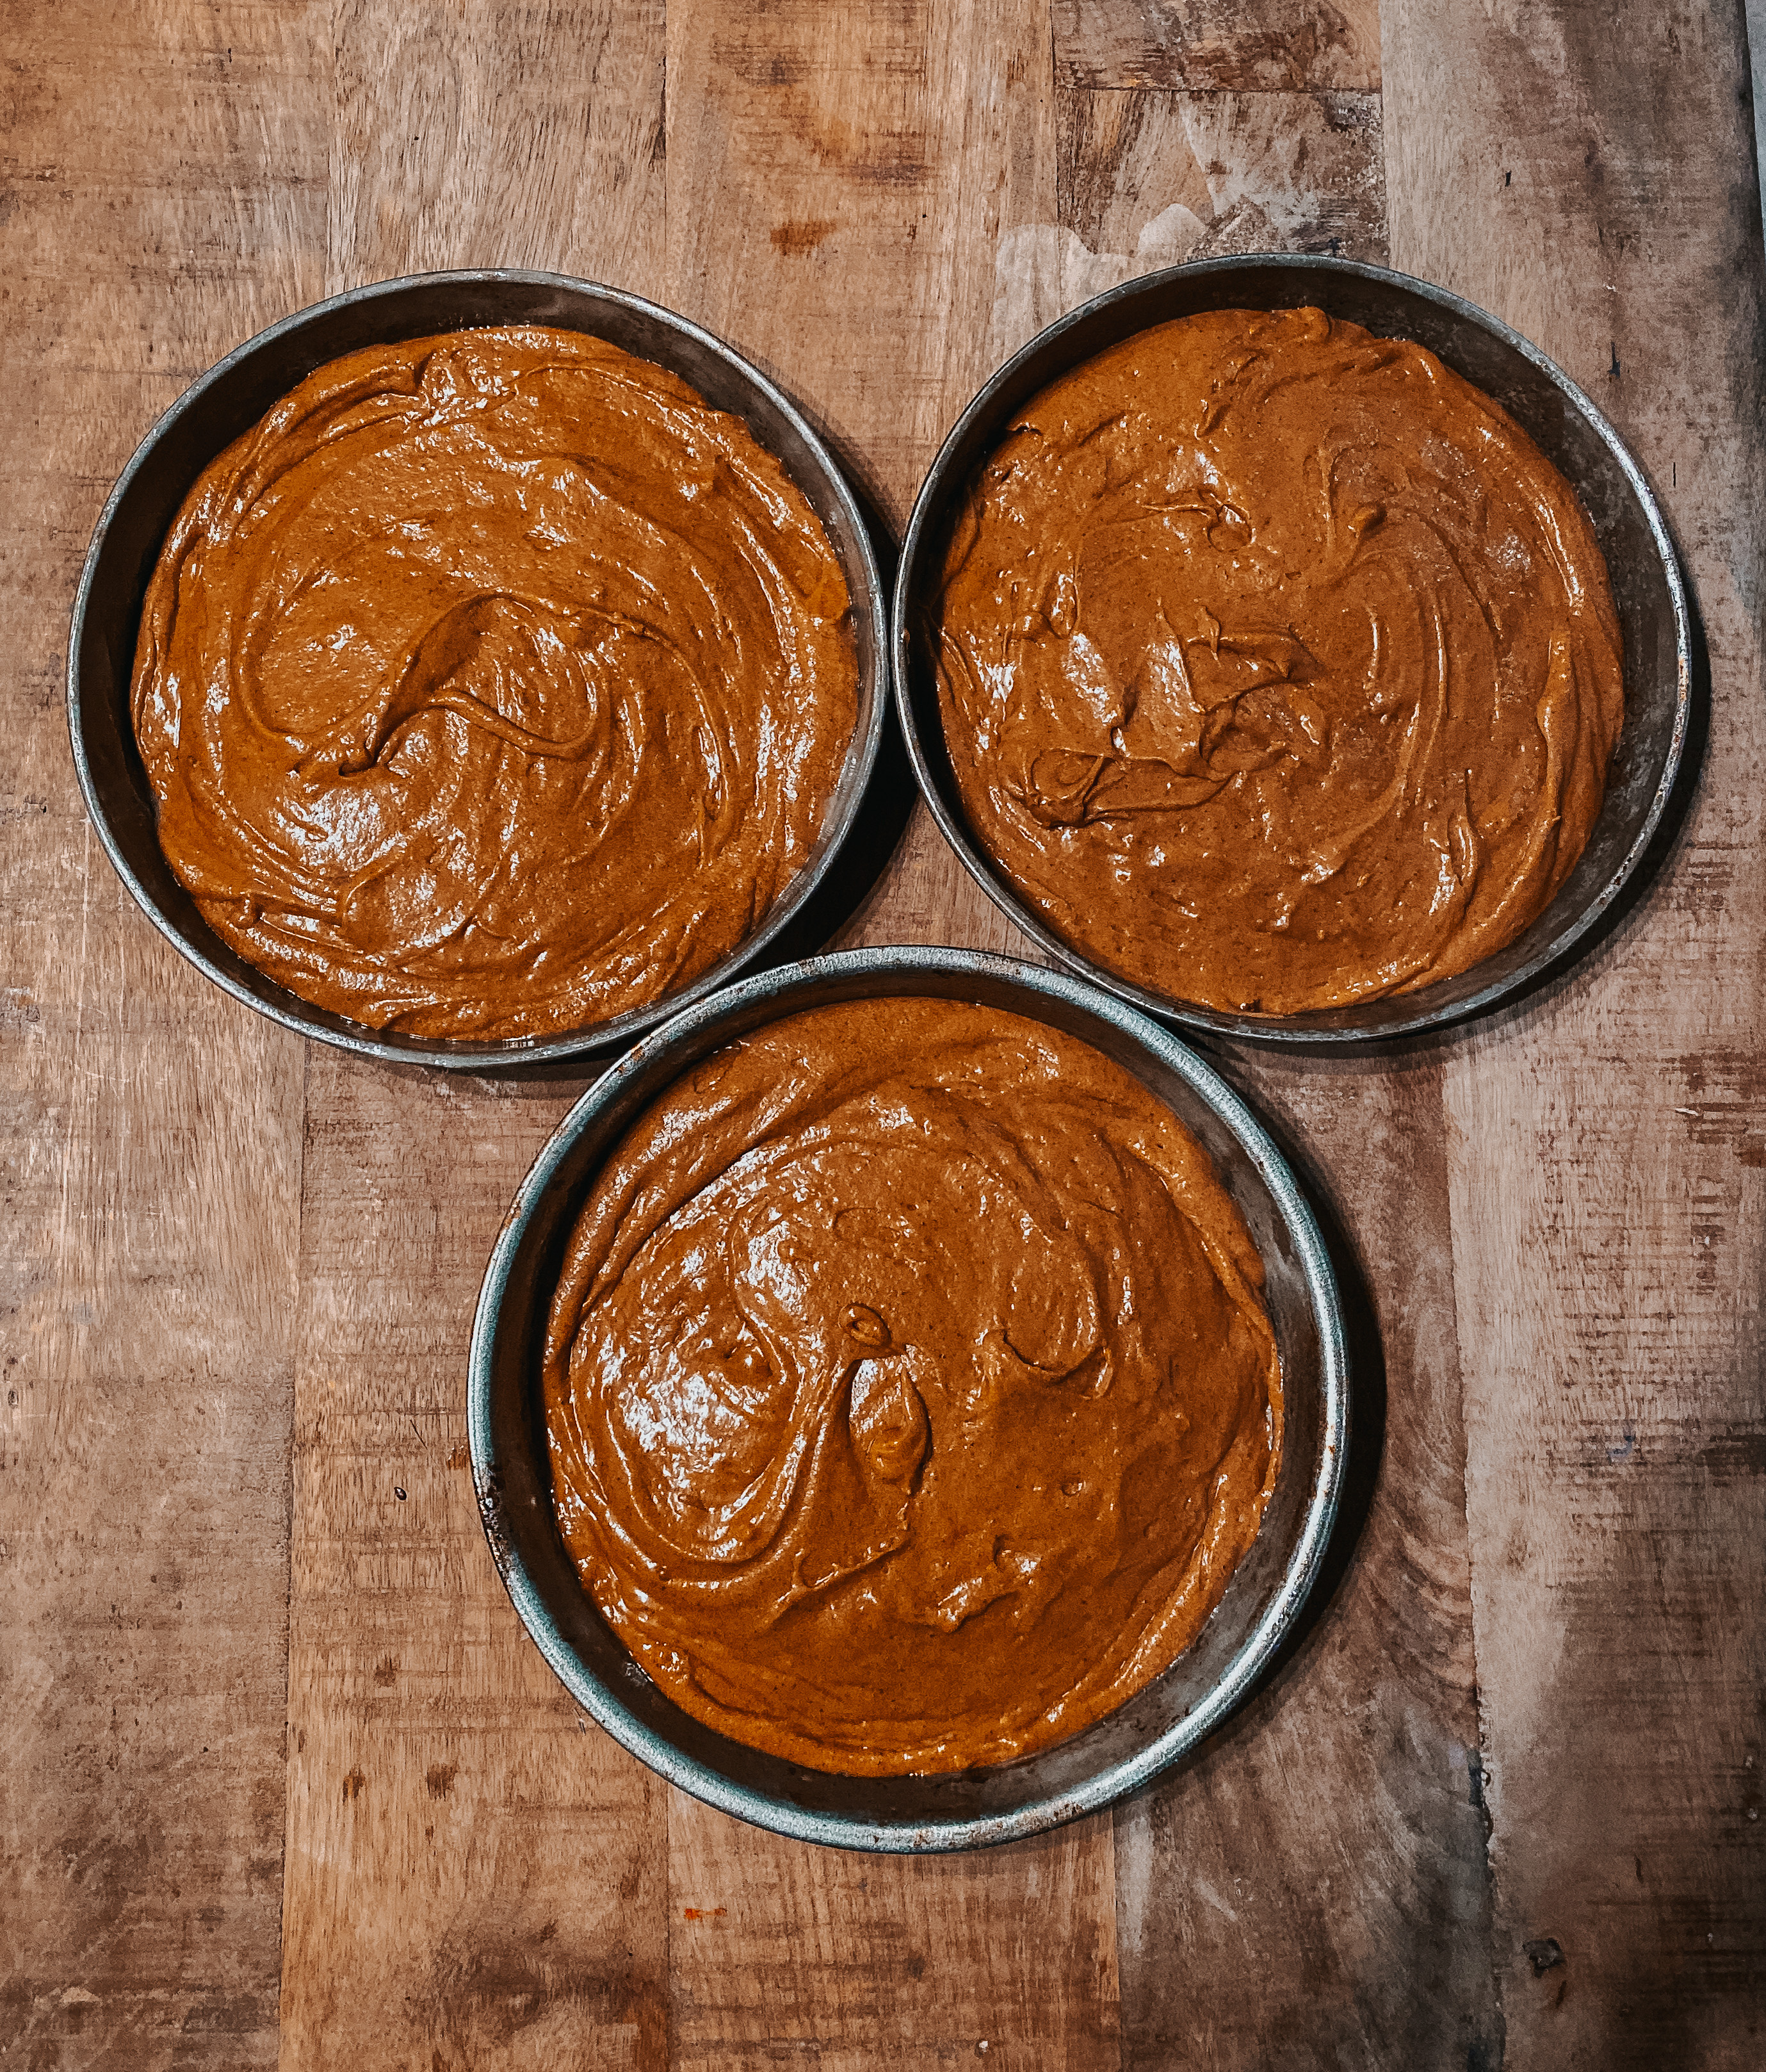
Grease + flour three 9-inch cake and and set aside. I use the fat free spray from Bakers Joy as it has flour in it so less hassle if you ask me. Preheat oven to 350 degrees.
Whisk together the dry ingredients in a medium bowl. That should be the flour through nutmeg mixture, as shown above. Set aside.
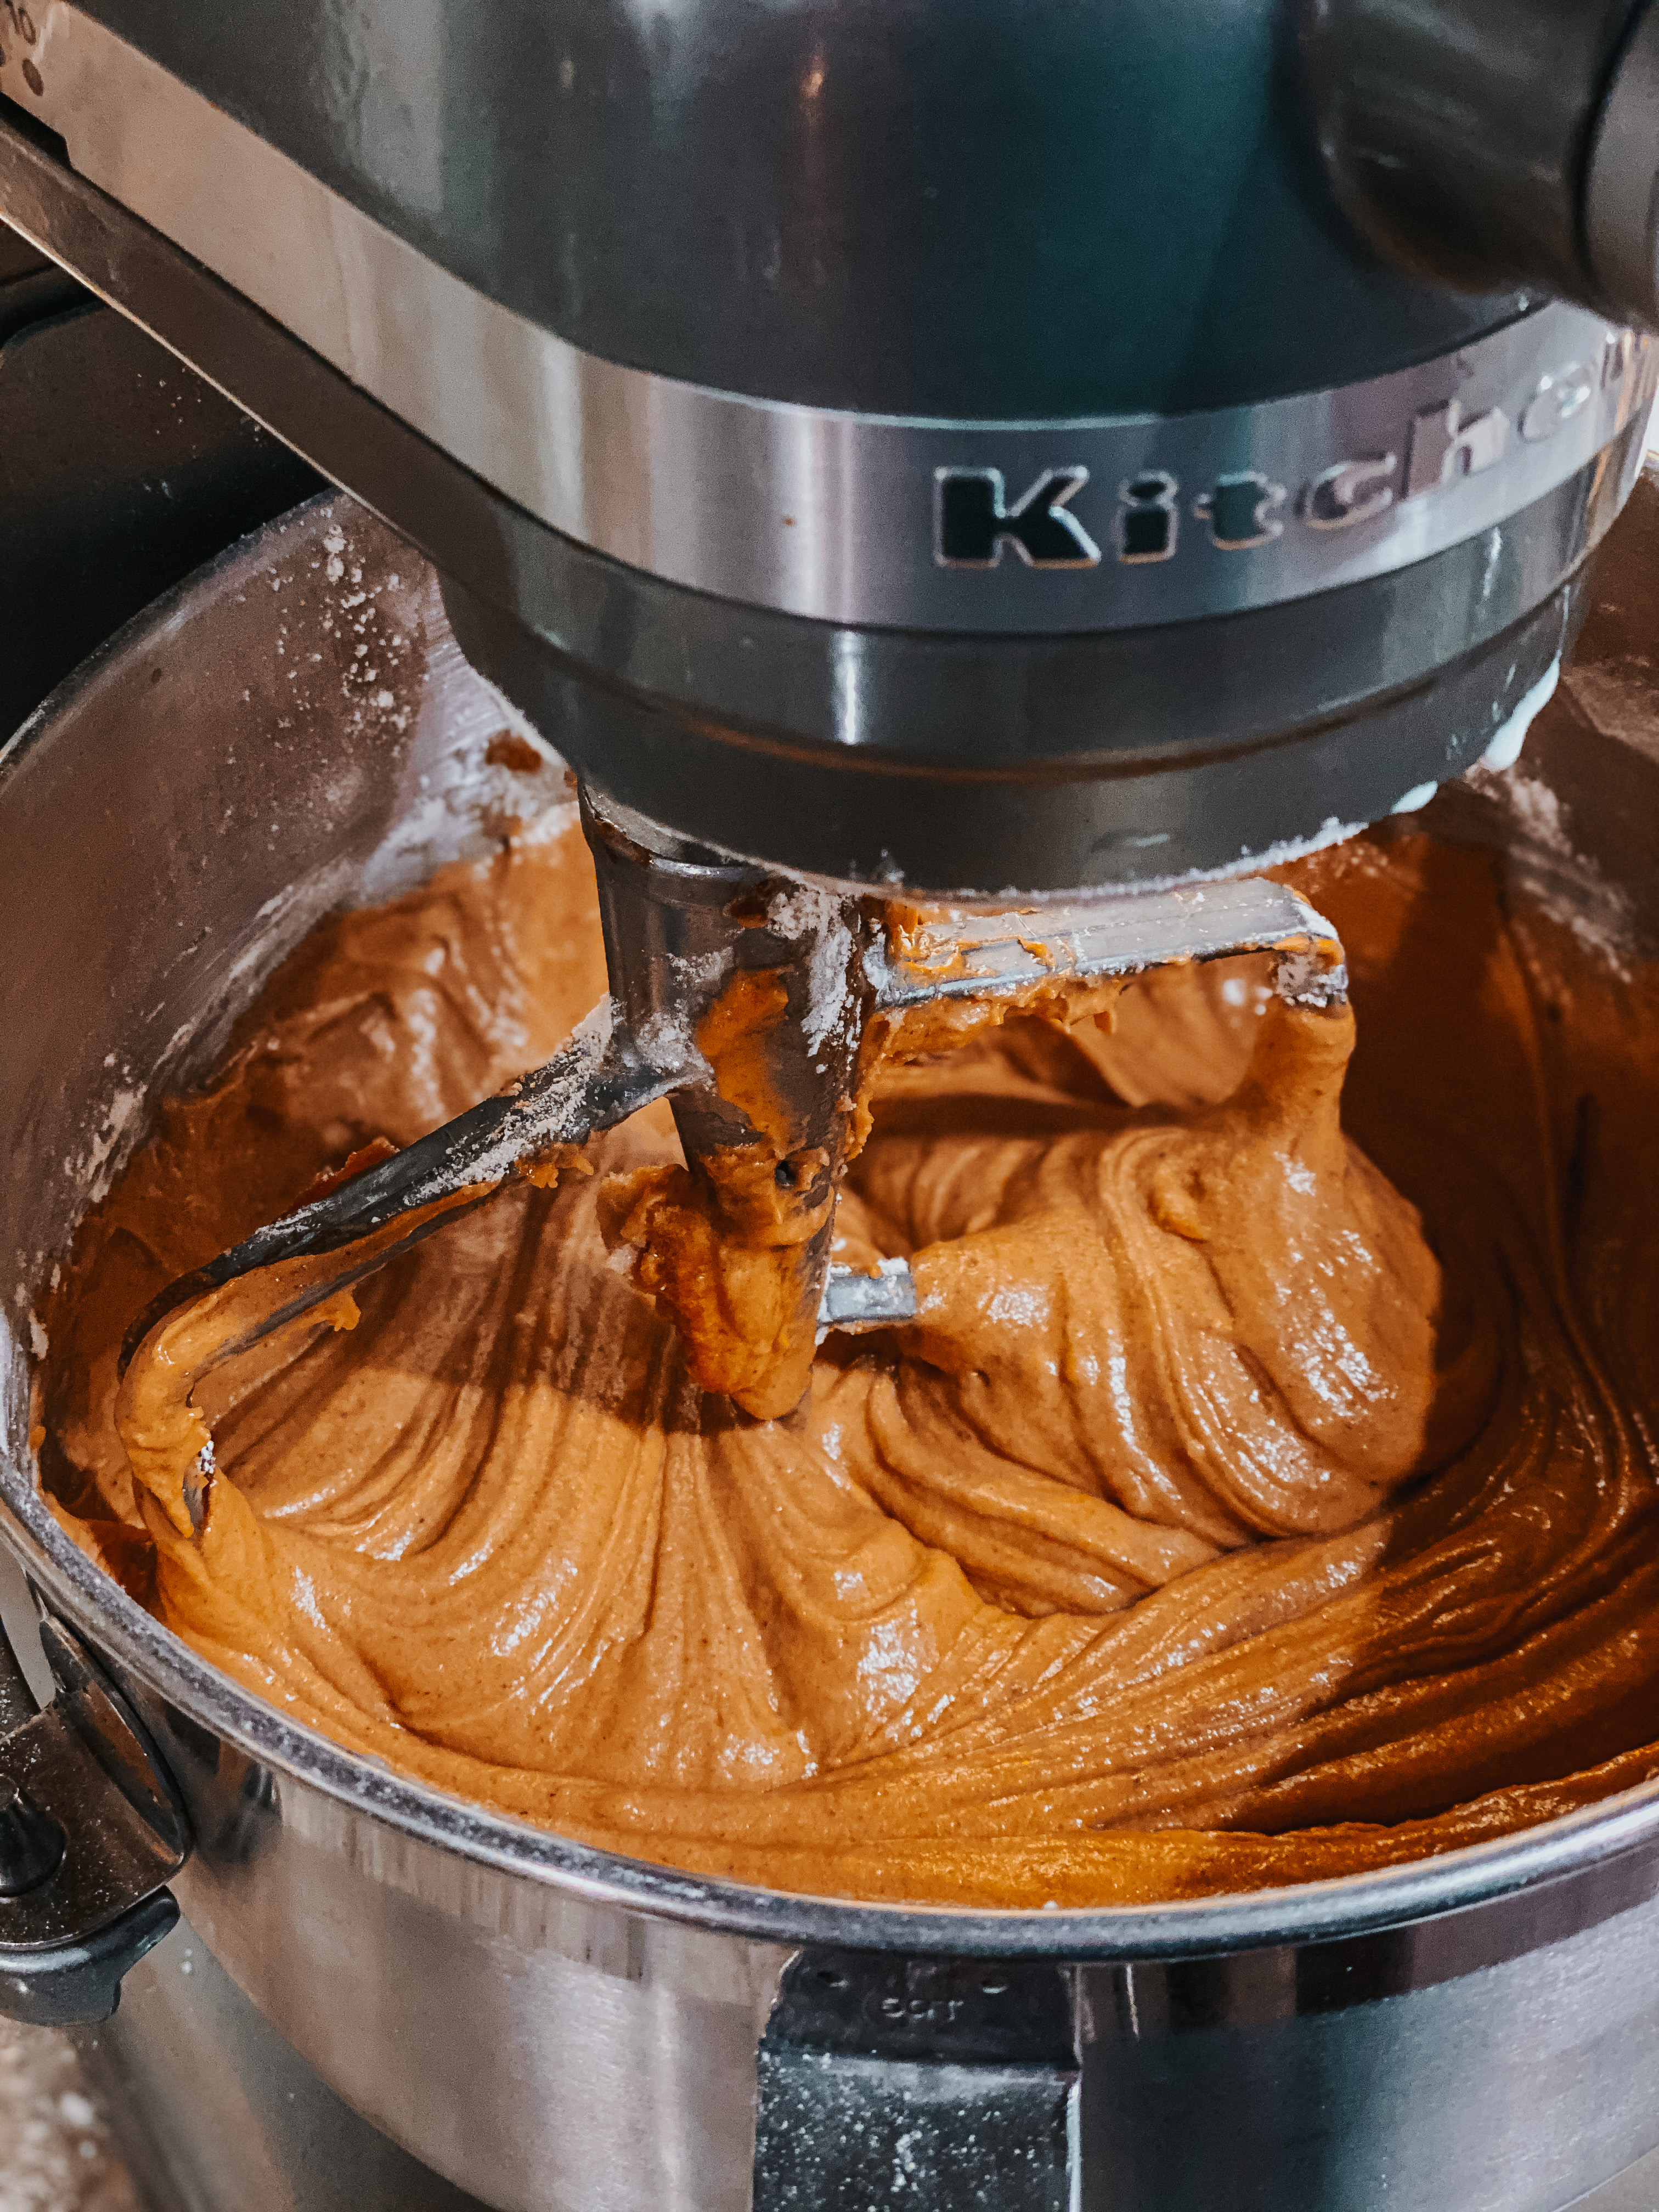
In a large mixing bowl, cream the softened butter. Add brown + white sugars and mix well until creamy. Add the eggs, 2 at a time, and mix until combined, scrape the sides of the bowl if need be from time to time until all is mixed well.
add 1/3 of the flour mixture, then mix it together. Add 1/3 of the buttermilk and mix. Do this until everything is combined and mixed well.
Distribute the cake batter between the three prepared cake pans. I always give mine a little tap on the countertop to ensure there are no air pockets. Bake for 18-25 minutes or until cake layers look just done. You’ll want to stick a toothpick in it and have cake crumbs out rather than wet batter.
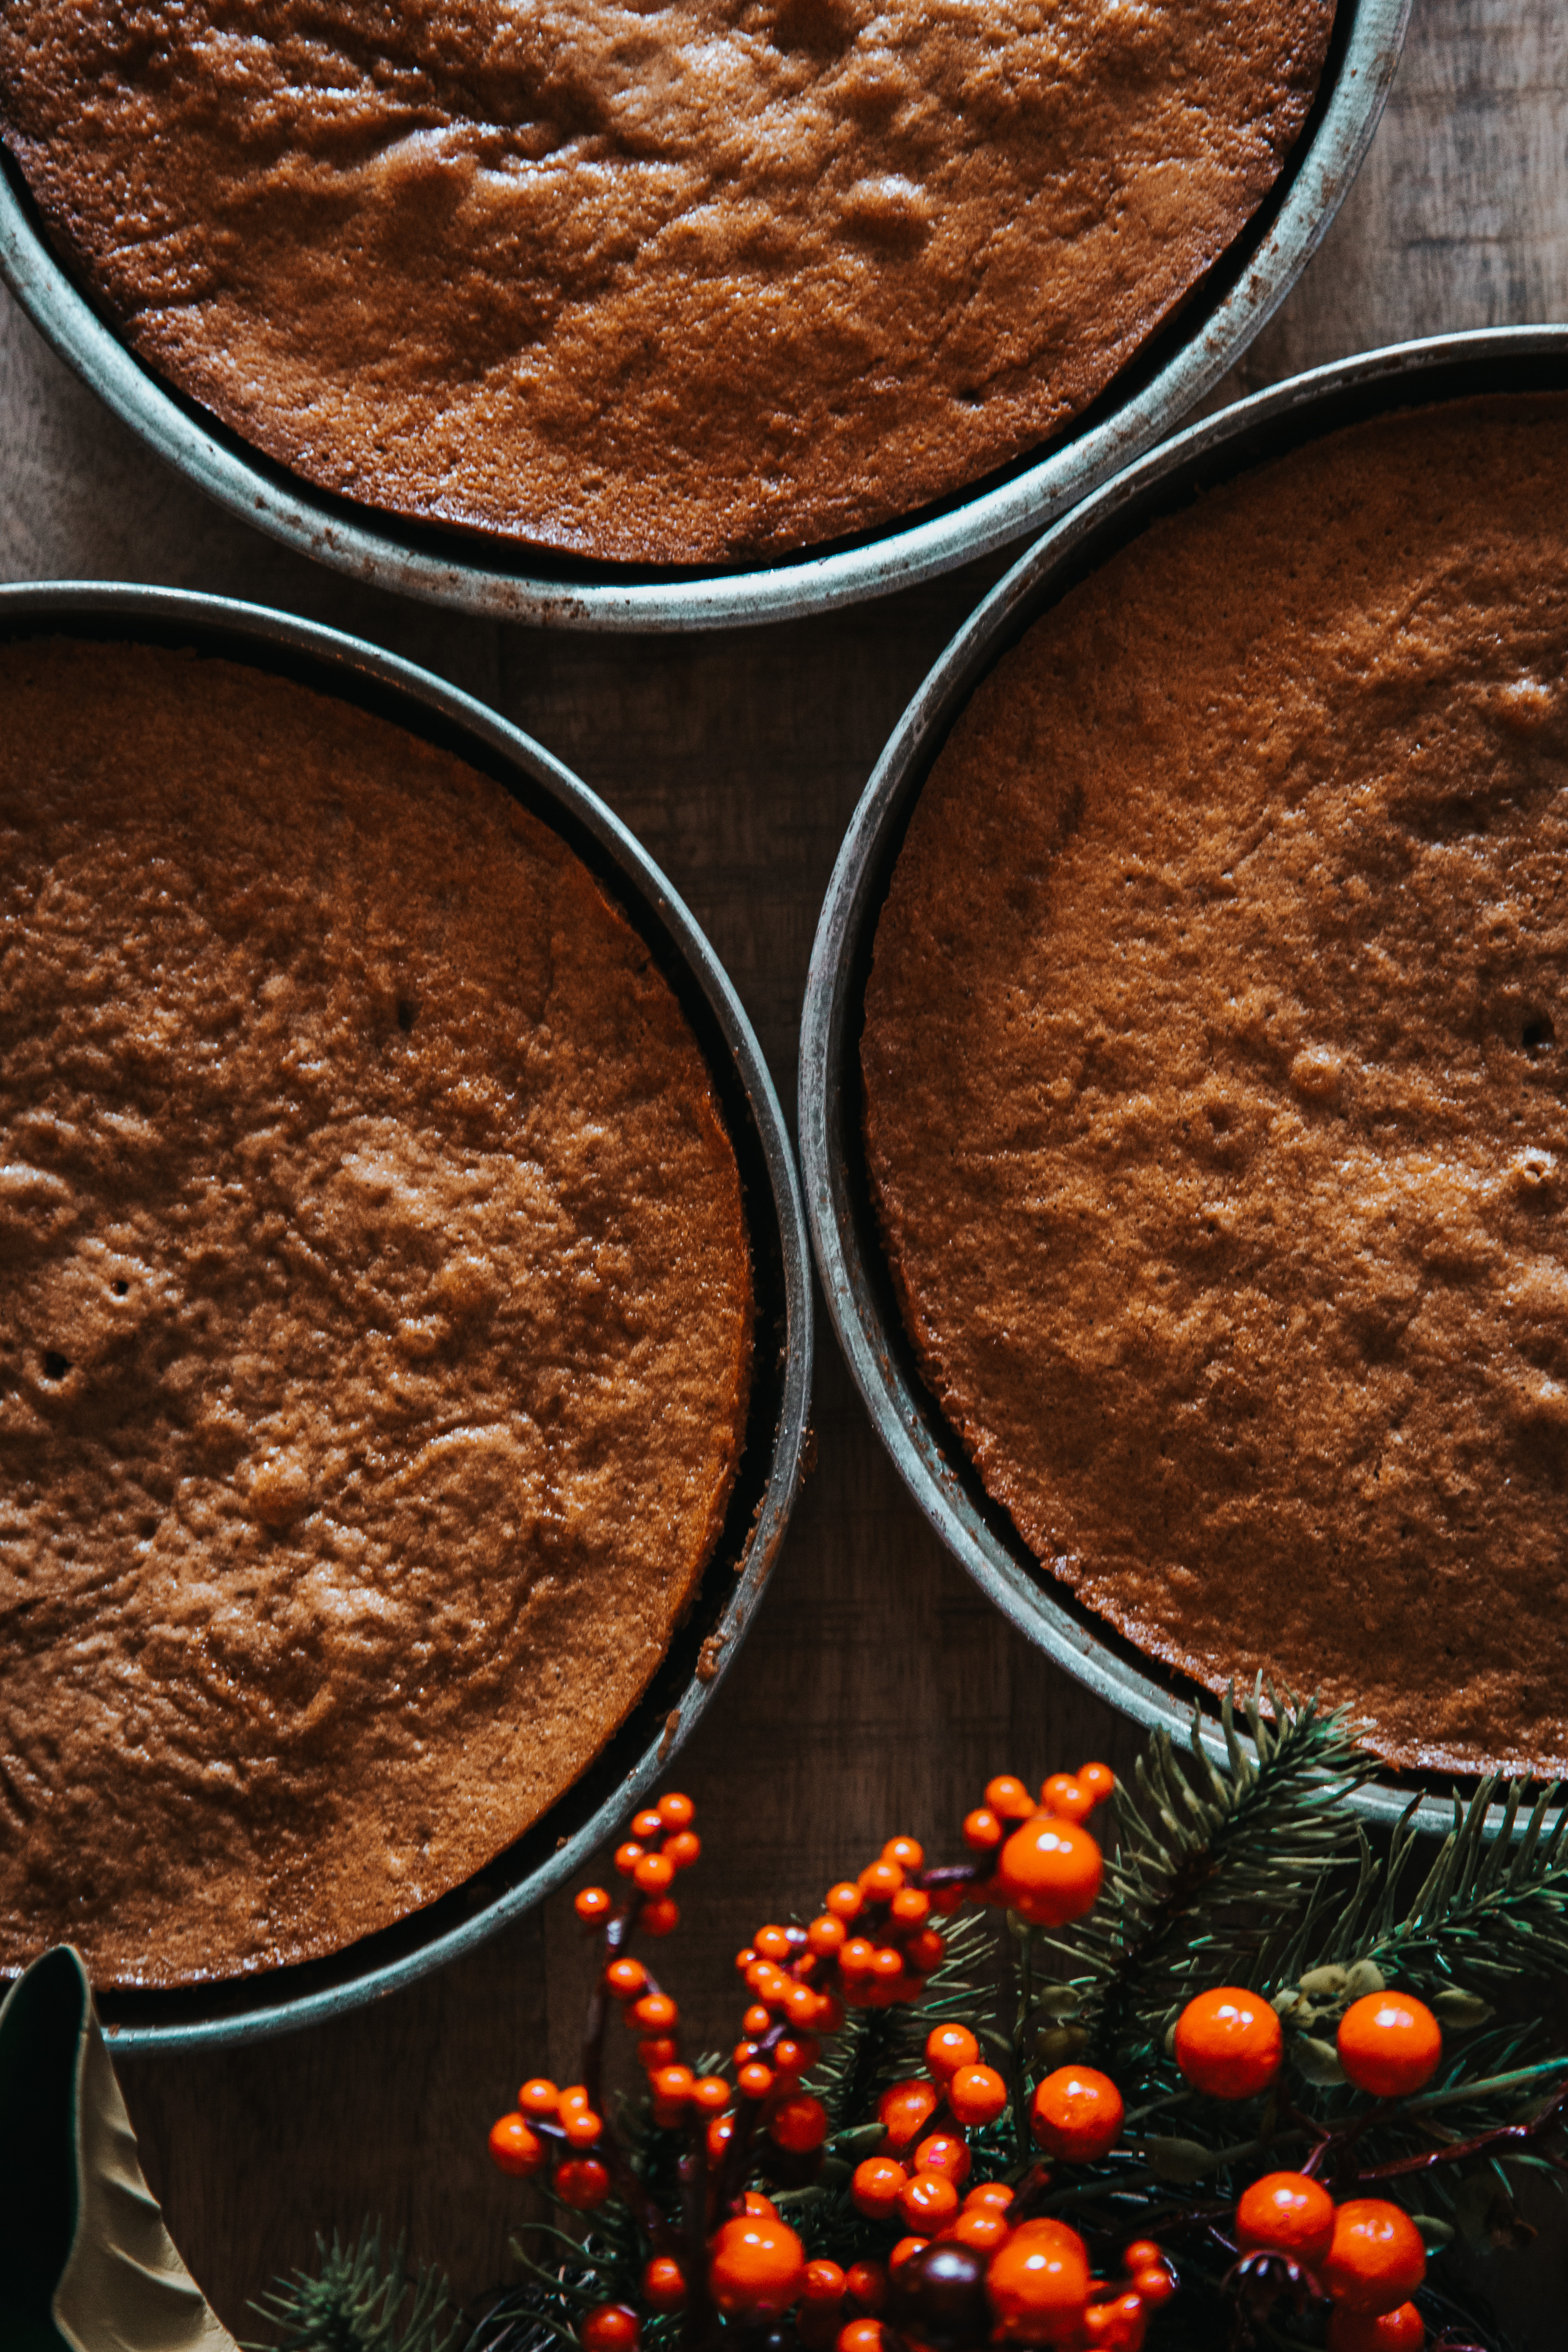
Let the cakes cool in their pans for 10 minutes then transfer to a cooling rack where you will let them finish cooling completely before frosting.
3) Prepare the Frosting:
In a large mixing bowl, cream softened butter. Add cream cheese and mix until well combined. Add the mascarpone cheese and mix until well combined an creamy. Sift the powdered sugar and mix until well combined.
Add milk, vanilla, and salt and mix until well combined. If the frosting looks too think you can always add more powdered sugar 1/2 cup or so depending on how sweet and thick you want it.
4) Assemble the Cake:
I laid 2 long strips of wax paper cutting the cake stand in half so the cake would sit on the wax paper and I could easily pull each side from under the cake to get rid of any mess without messing up my cake stand.
Place first cake layer down and put 1/3 of the frosting in the middle. I used an offset spatula to spread the frosting from the middle outward where it barely ran of the edges. Repeat this step with the second layer
Use the remaining frosting to cover the top of the cake and then to blob a few spots on the side of the cake all the way around. Use a cake smoother/scraper to smooth the blobs of frosting by holding the cake stand with one had and turning as you hold firmly the scraper barely pushing into the cake to create a nice even crumb coat. Do this until you get the desired effect you want adding or removing as little or as much frosting as you’d like.
Decorate the top of your cake with the sugared cranberries and rosemary sprigs. To create trees with the rosemary, cut off a spring and leave enough room to pull some of the leaves off the branch so it reveals about an inch or so of branch that you can push down into the cake.
Place more cranberries around the base of the cake along with rosemary sprigs and watch your gingerbread spice cake come to life. You’ll soon have a winter wonderland you created with your own two hands.
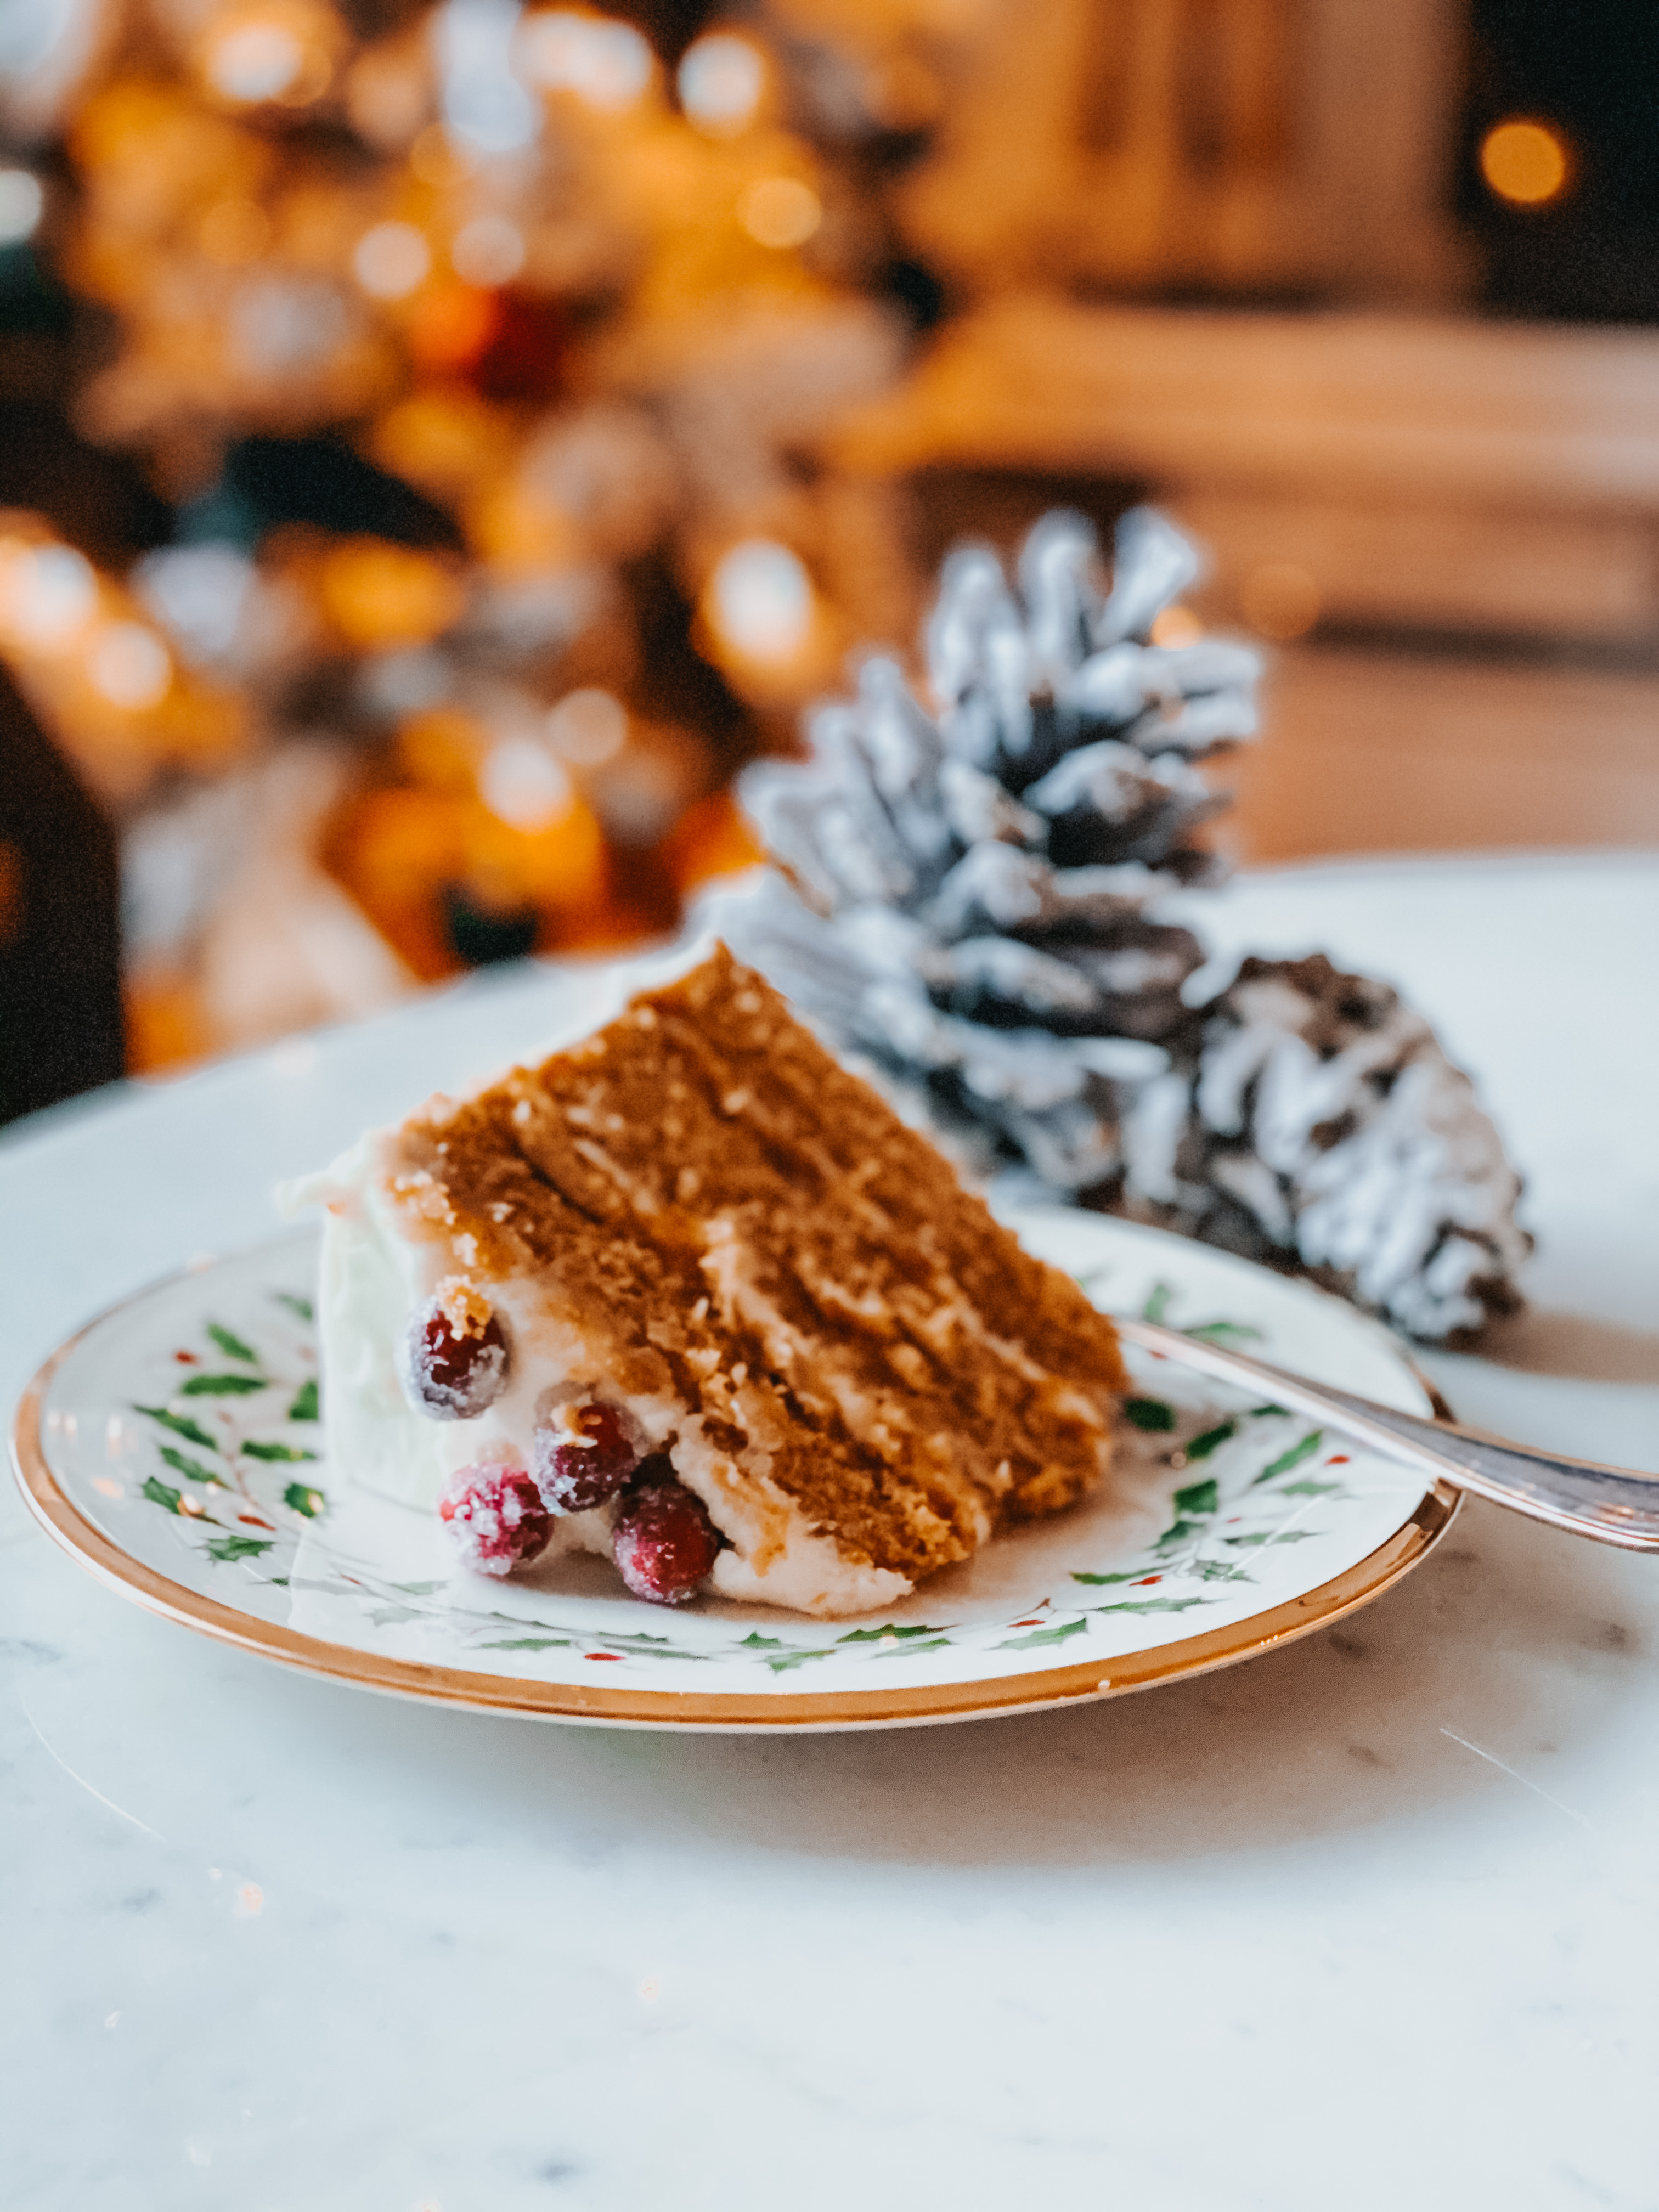
Serve immediately and store leftovers in the fridge for up to 5 days.
There you have it guys! a delicious and decadent holiday treat I’m sure you’re going to love. I hope you and your family have a wonderful holiday season and Merry Christmas!
–StayFoxx